
A Locking Process can be used to lock files and databases so there will not be two processes running on a file at the same time.
It is important to ensure that two processes are not simultaneously operating on the same file to prevent deadlocks from occurring. In a deadlock, each process will be waiting for the other process to run indefinitely. This is problematic as it will require the process to be completely restarted whenever this occurs. Subsequently, it is important to ensure that a locking system is implemented when centralised files are used (non-duplicated files and databases) to prevent these problems.
Step-by-step guide
1. Building the Locking Process
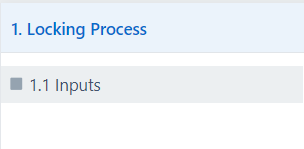
The locking process consists of one data step which contains a “Locking Sheet”.
You will need to create an input data step that contains a file upload/download property.

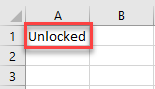
The locking file itself contains only the word “Unlocked” in cell A1. Upload the file into the data step.
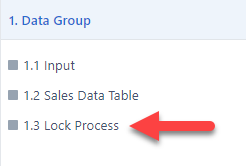
As good practice, name the process with a 0 in front (eg. 0. Locking Process) as the processes are listed in alphabetical order in SolveXia.
2. File Locking Systems
Now we will add step logic to the main process (your own process that you wish to add a locking mechanism to). This lock would normally be placed towards the start of the process (but after data steps)
When a locking system has been implemented, the run will lock the file while it is operating on it (1). Subsequently, any operations outside of the initial run will not be allowed during the time of that run. But once these operations have been completed (2), the run will unlock the file (3) so other runs can now be executed safely (4).
A. Updating Locking Status
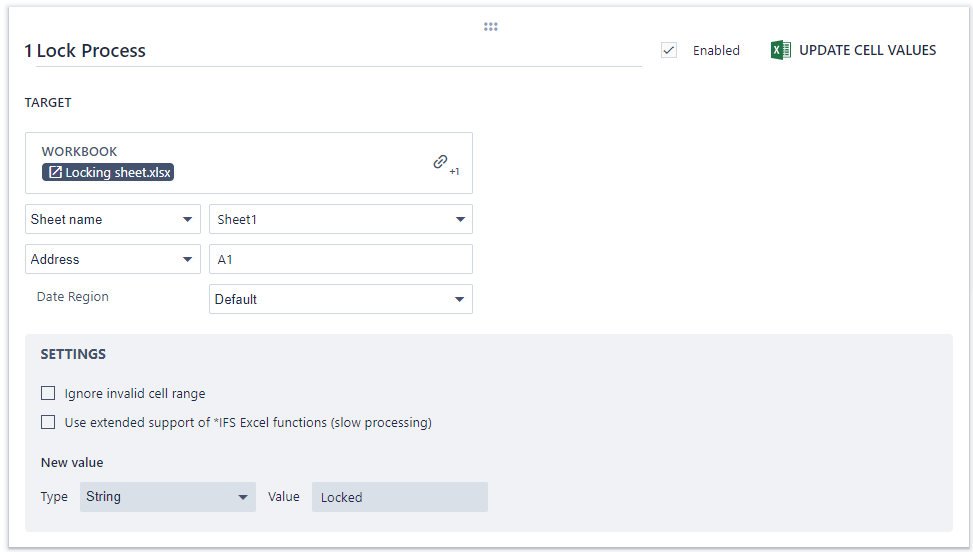
Before the locking system is implemented, the steps which interact with the locked file should be moved into one singular group. A step which updates the cell value of A1 to “Locked” now needs to be developed before the aforementioned group of steps is run.
To build this new step in your own process (in this example the process will be called "1. Main process"):
- Add a “Manipulate Data” action step and a “Update Cell Value” instruction to the step.
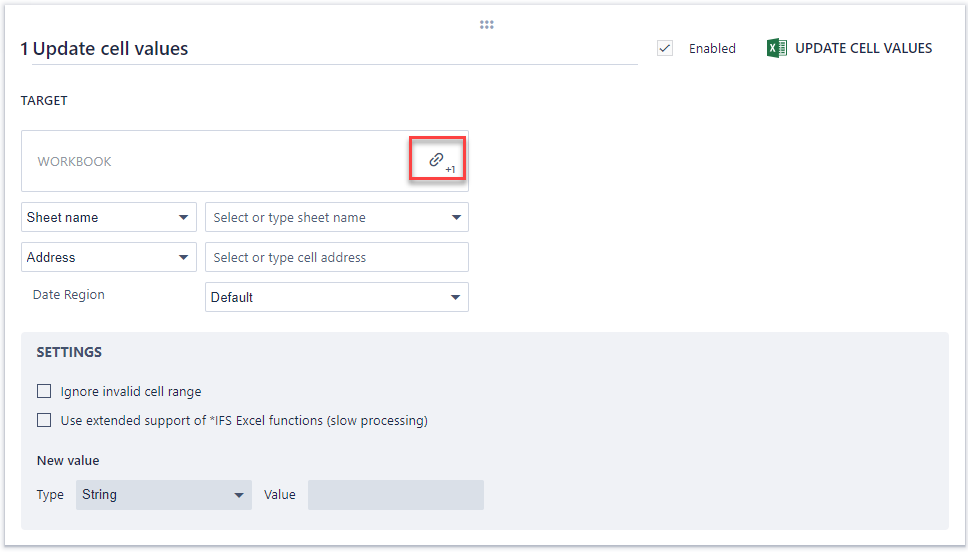
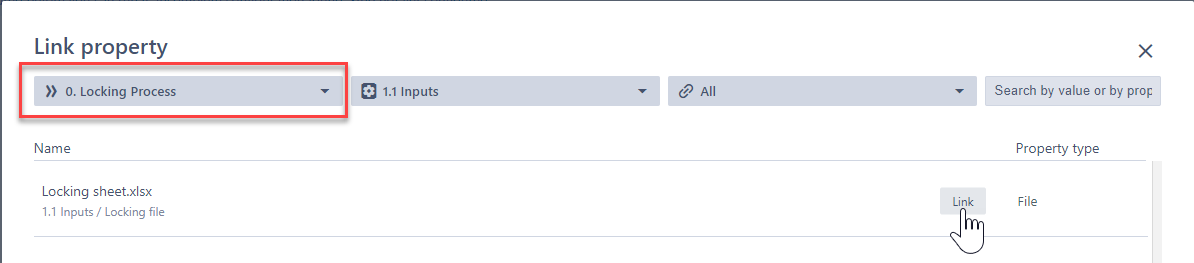
- Link the instruction to the “Locking Sheet”, which can be accessed by firstly click on the link button (highlighted above). We must then click on the process drop-down highlighted below and select the locking process. Then click on the Link button next to the Locking Sheet.
-
After linking the locking sheet, configure the instruction such that the address A1 is updated from “Unlocked” to “Locked”.
-
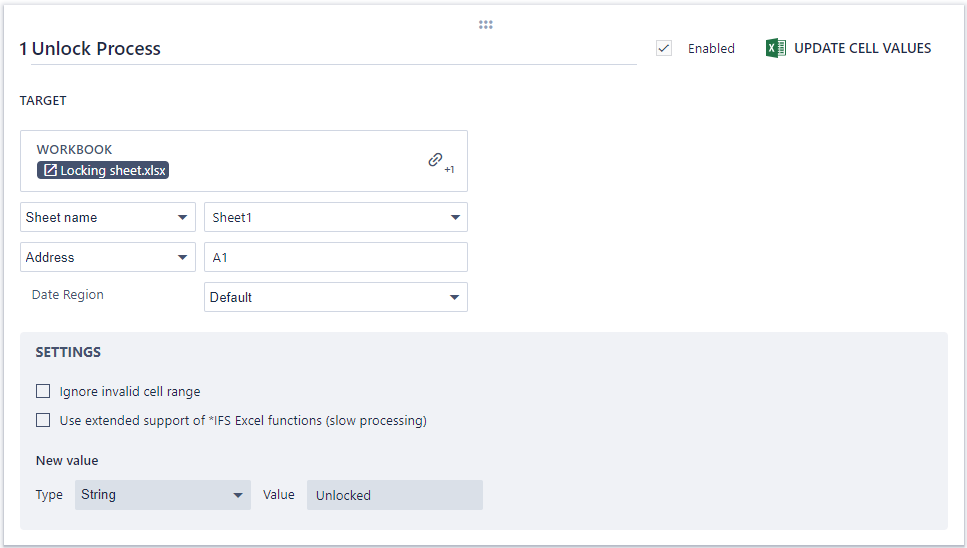
Similarly, build another manipulate data action step with an “Update Cell Value” instruction which updates cell A1 from Locked to Unlocked (rather than Unlocked to Locked). To Save time the previous action step can be copied and then modified. This step is placed behind all of the other steps to ensure that the locked file is unlocked once it is no longer being used.
Your process should now have the following steps:

B. Testing Locking Status
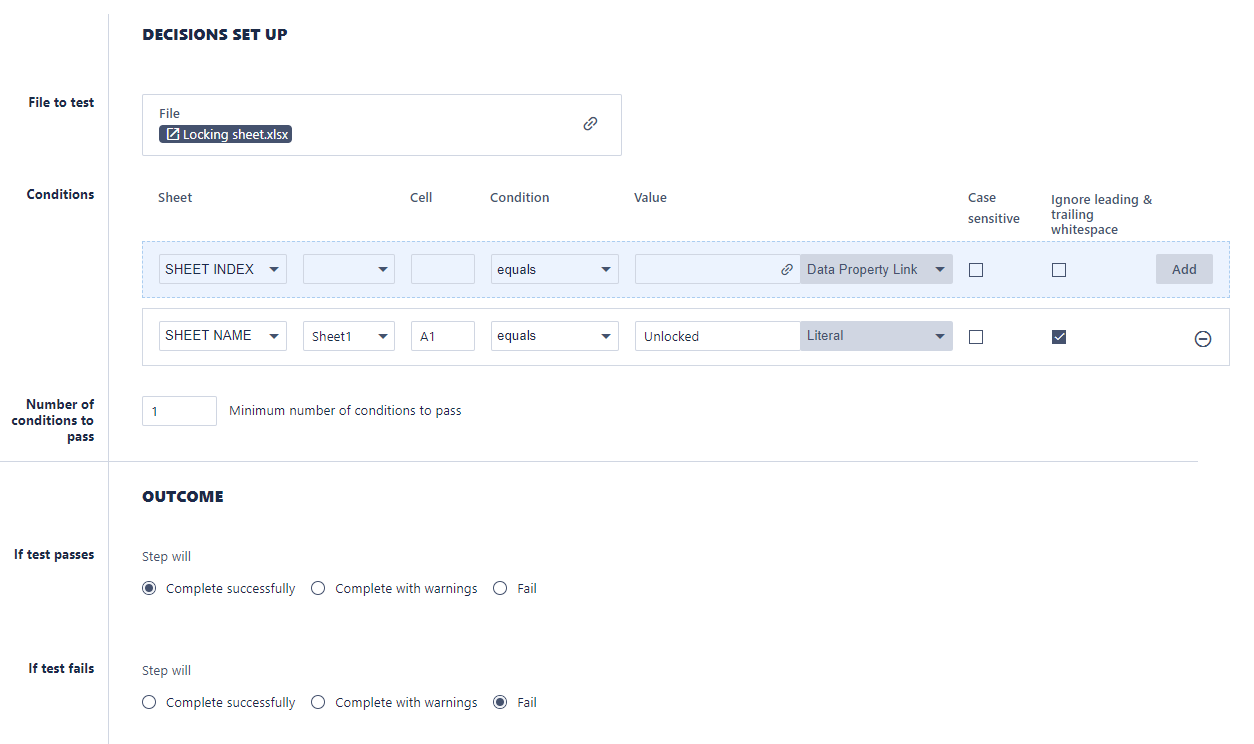
We can now implement a step which tests whether the chosen file is locked or not before the process interacts with the files.
- Firstly add the Decision control action step to the process.
- Then link it to the Locking Sheet
- Set up a test which passes when the value in cell A1 equals “Unlocked”.
- If the test passes, the process should be continued.
- If the test fails, "fail" the process so it will be completely halted.
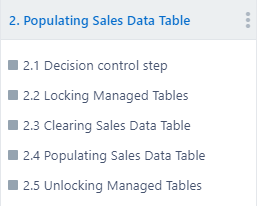
C. Step Order
The “Decision control step” must be placed before the “Locking” step to ensure that the process fails when another concurrent user is running the process simultaneously. The appropriate order of our sample process, with the “Populating Sales Data Table” step as the only locked file operation, is shown below.
Comments
0 comments
Please sign in to leave a comment.