A virtual table contains columns and rows, just like a managed table. However, the fields (columns) in a virtual table are the result of a SQL query referencing one or more managed tables. With virtual tables you can reuse queries that reference multiple managed tables by accessing them by name.
How to create a virtual table
1. Sign in to SolveXia Designer View.
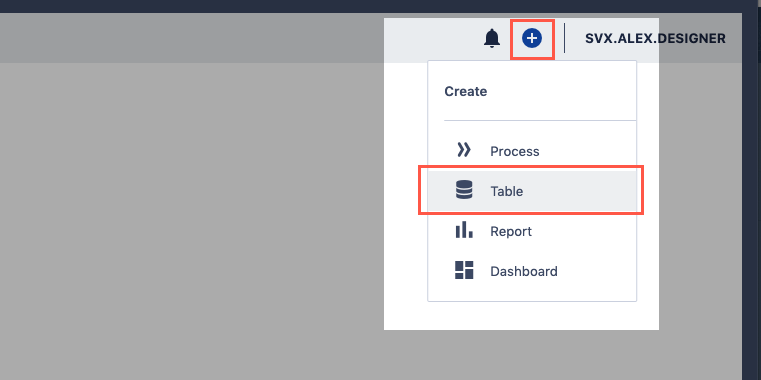
2. Click on the + icon situated on the top right side of the page.
3. Click Table in the dropdown.
4. Type the new table name in the modal. Choose Virtual Table type. You can additionally specify a folder you want to put the new table in.

5. Click Create table.
6. The new virtual table will appear on the screen.
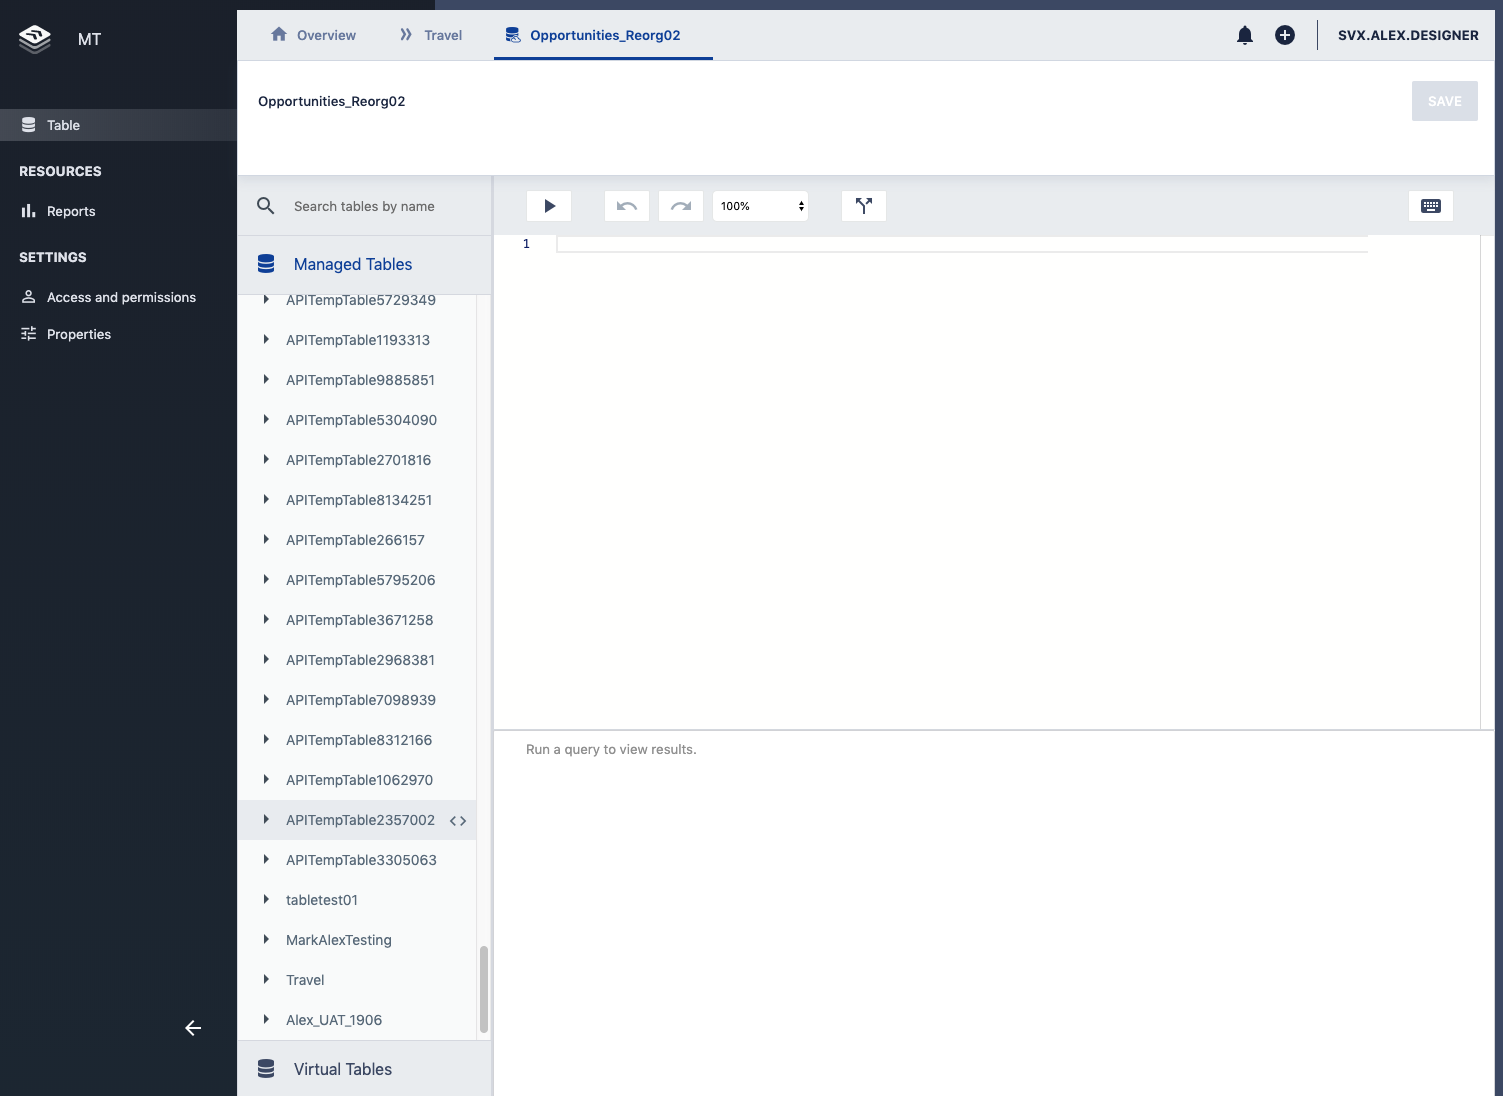
7. Define the query for your virtual table by typing the SQL query in the editor.

7. Press Play button at the top bar to preview the query results. This will show you your virtual table structure.
8. Hit Save.
How to open an existing virtual table
1. Sign in to SolveXia Designer.
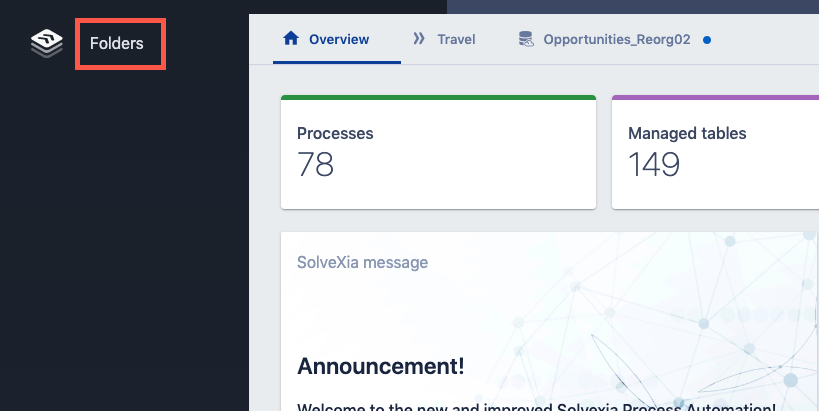
2. Open navigation panel by clicking on Folders button in the left top corner.
3. Further click on Managed Tables folder and find your virtual table.
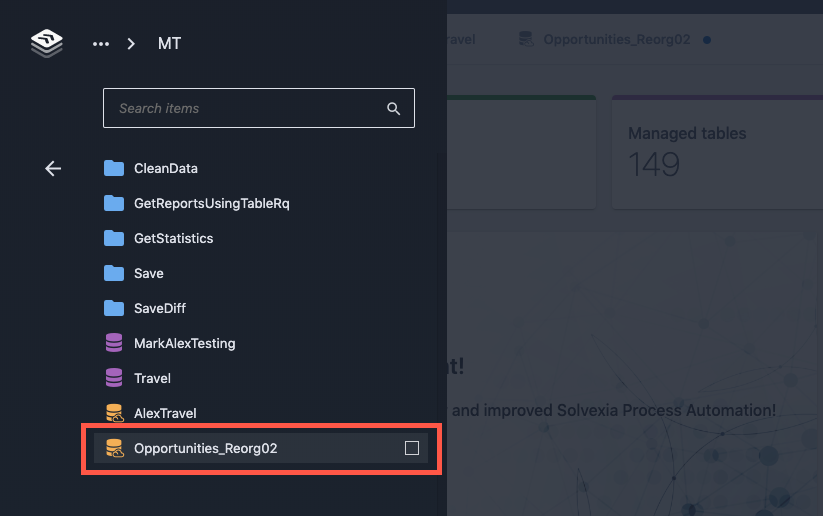
4. Click on the table. It will be opened in the application shortly.
How to view and read an execution plan for virtual table
The execution plan is a powerful tool that gives you insights about performance of your virtual tables. View and analyse your SQL statements execution plans to be able to optimise the performance of your processes and make them faster. To do that:
1. Open a virtual table.
2. Click on the Execution plan button in the tool box.
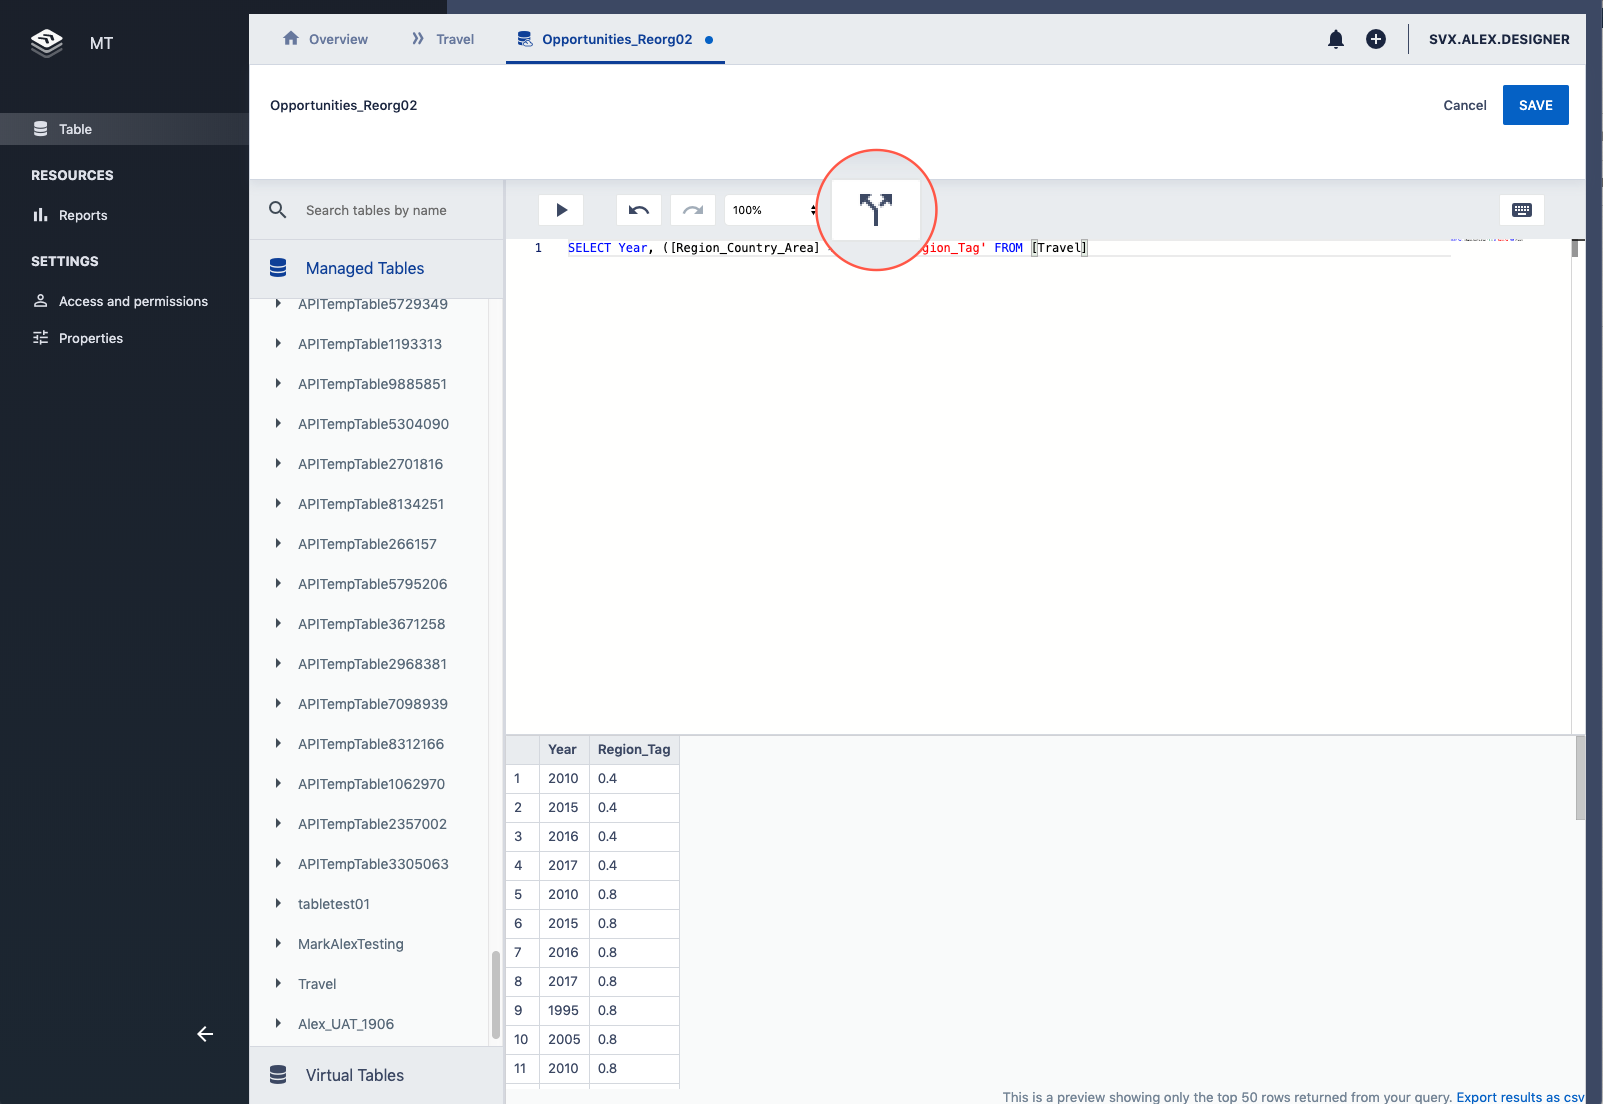
3. The execution plan diagram will appear at the bottom box.
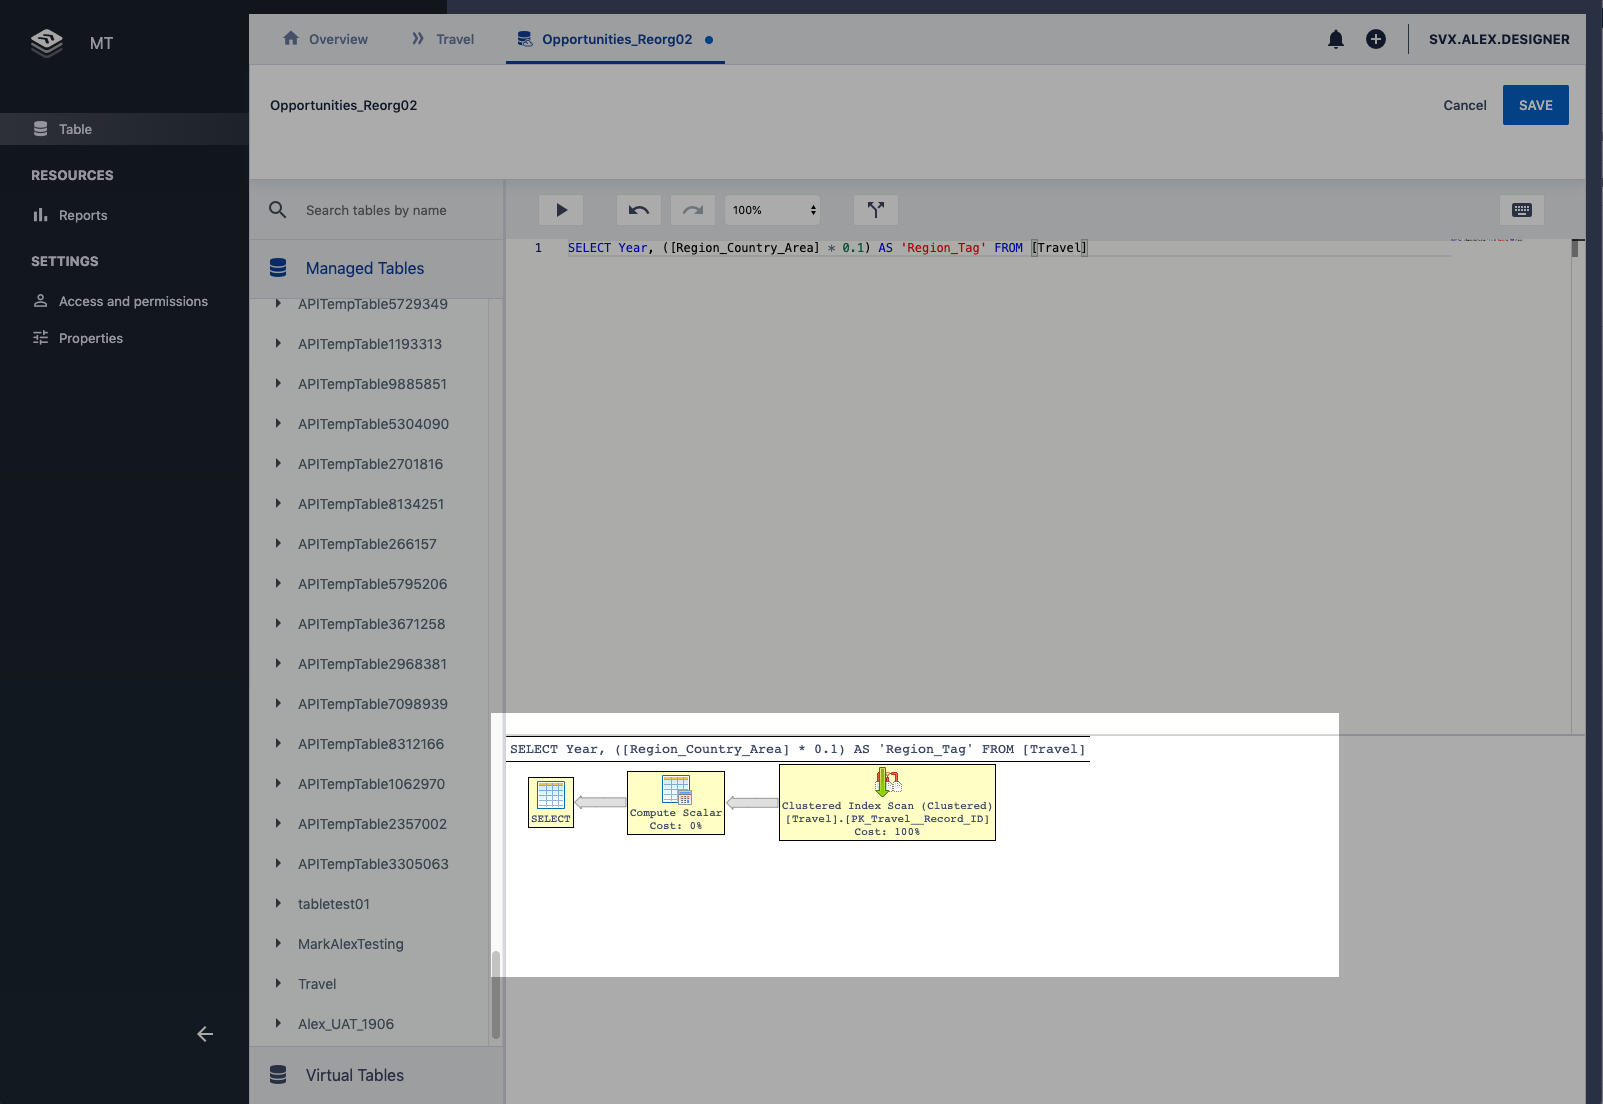
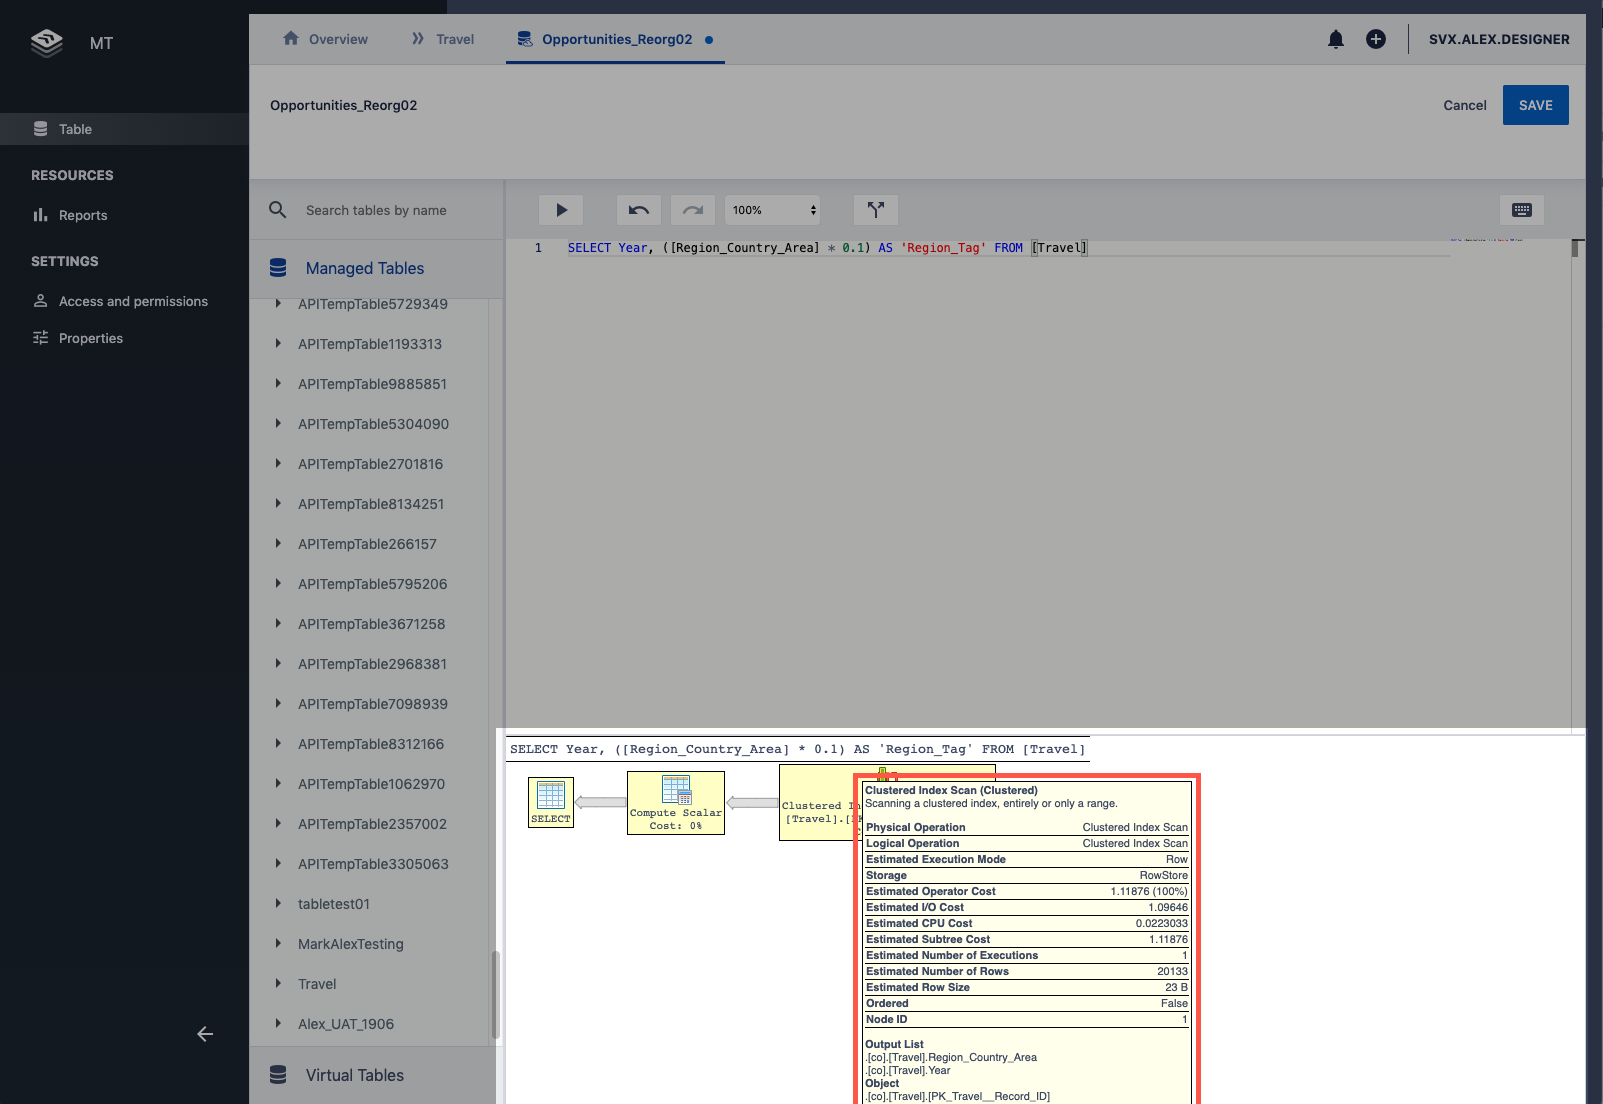
4. Hover one of the nodes to see information such as actual resource usage matrix and runtime warnings if any.
How to change virtual table properties
1. Open a virtual table.
2. Click on Properties in the left menu.
3. Update Name and Description.
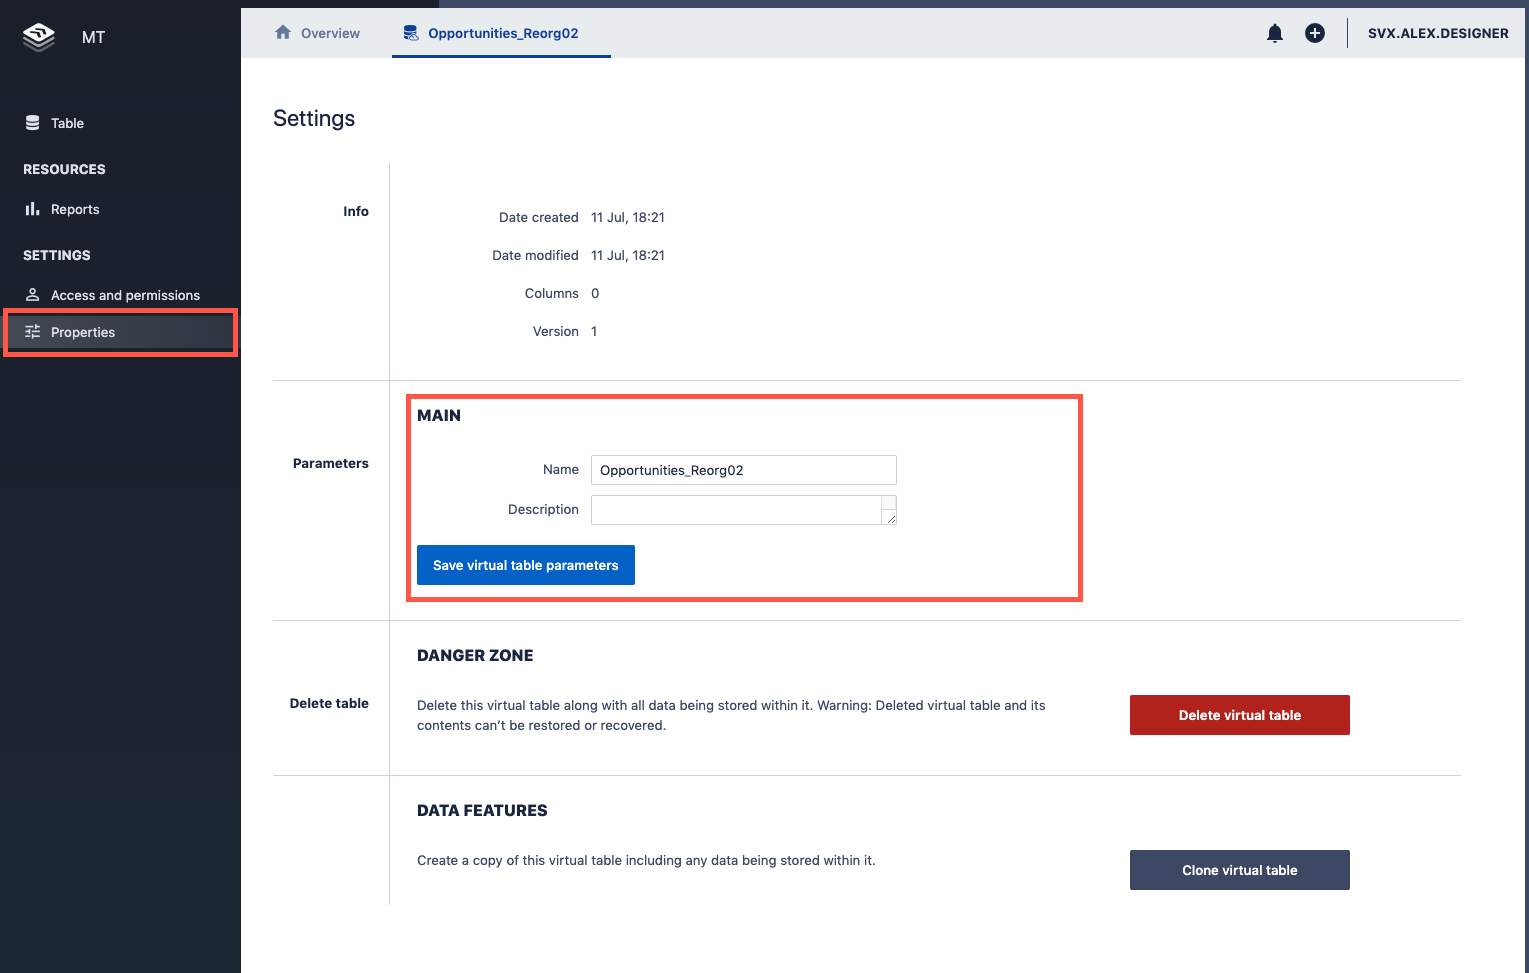
4. Hit Save virtual table parameters.
How to copy a virtual table
1. Open a virtual table.
2. Click on Properties in the left menu.
3. Click Clone virtual table in Data features section.
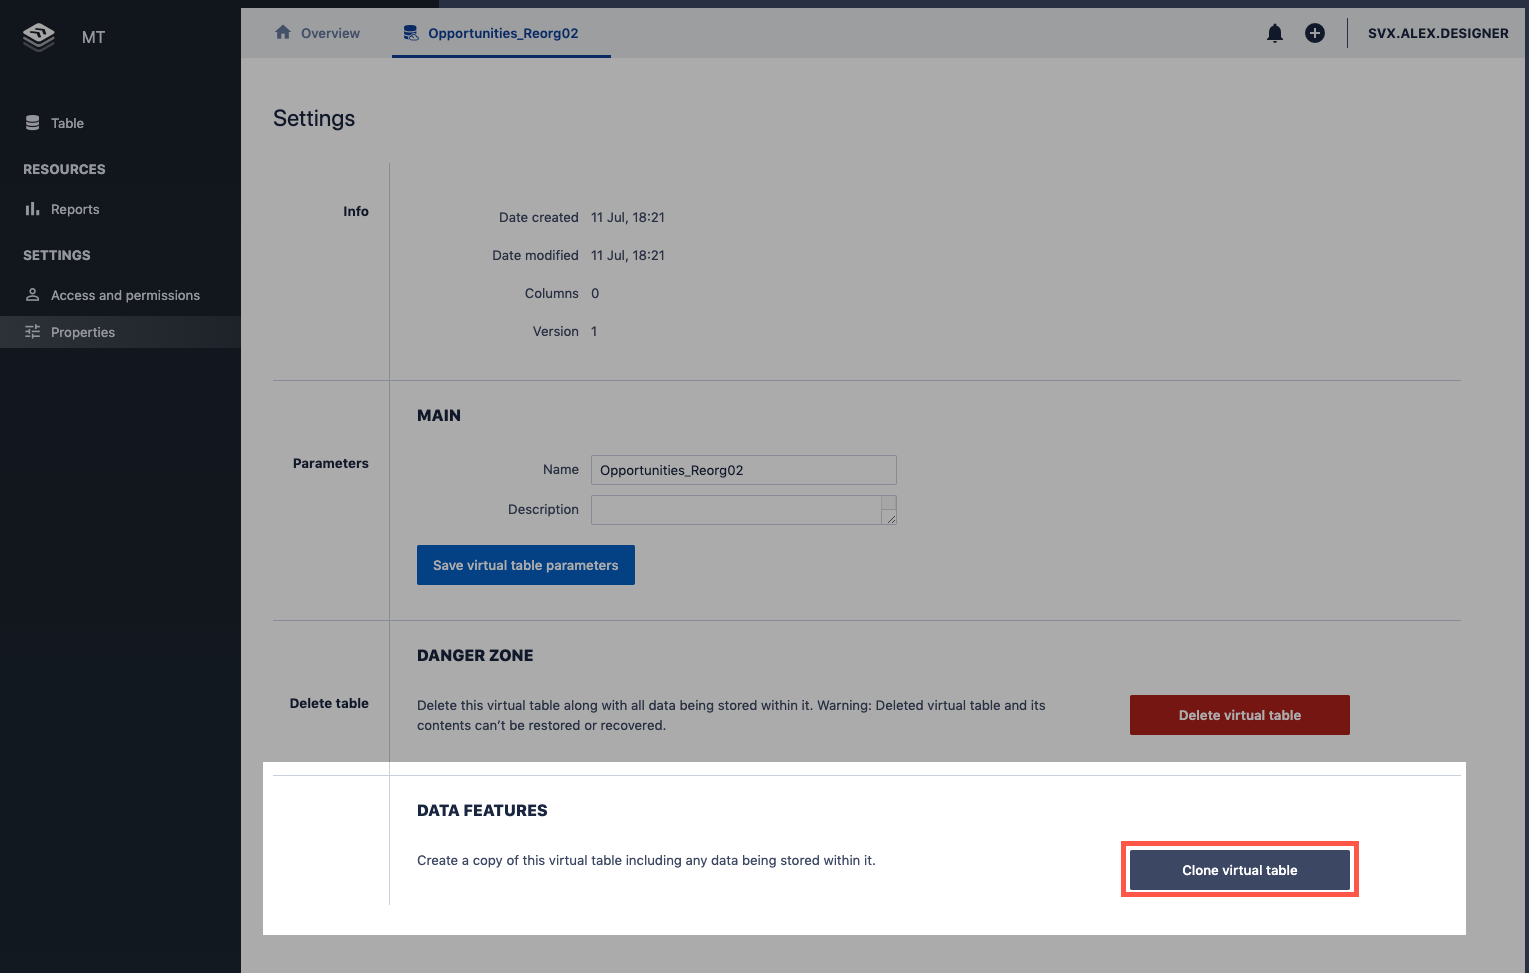
4. Specify a new table name and folder you want to put the clone in.
5. Click Clone table.
How to delete a virtual table
1. Open a virtual table.
2. Click on Properties in the left menu.
3. Click Delete virtual table in Danger zone section.
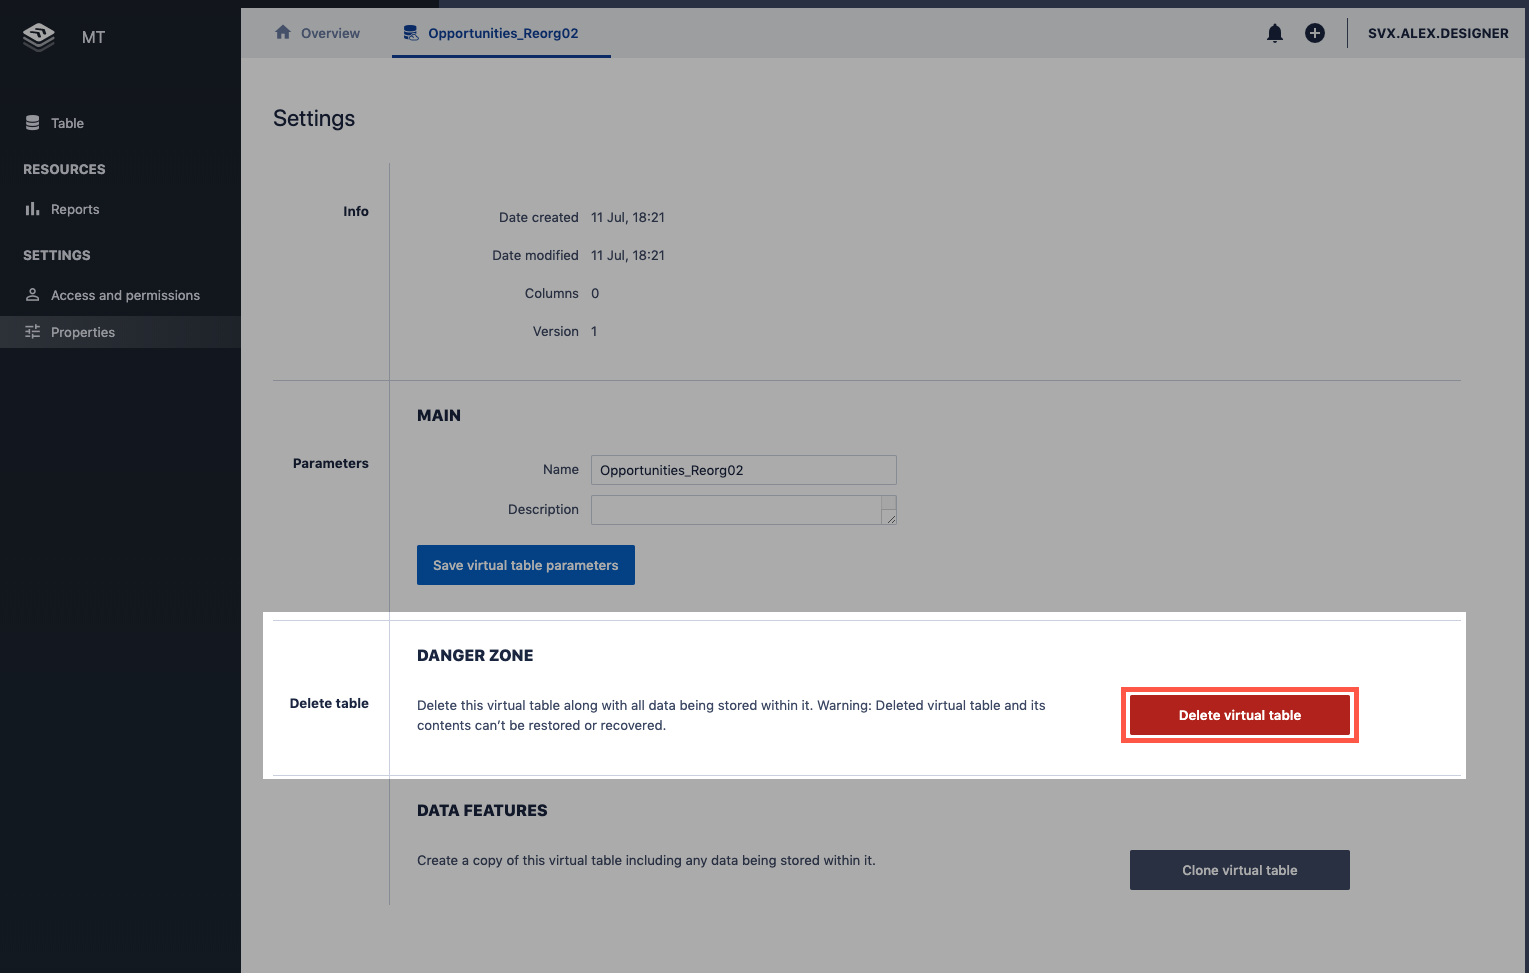
4. Confirm.

Comments
0 comments
Please sign in to leave a comment.