
Copy from Excel to Managed Table is an instruction that allows the user to copy data from an excel file into a managed table.
Prerequisites
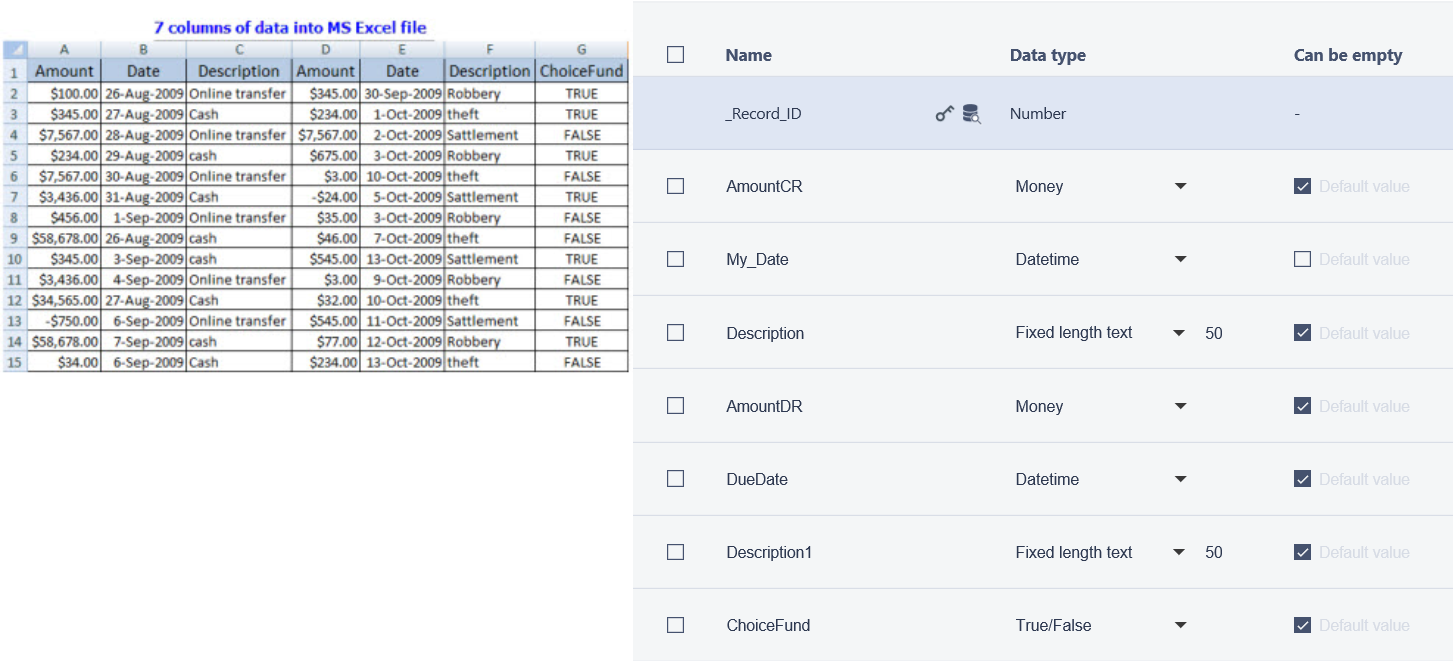
You need to have a managed table with the same numbers of columns as the selected data in the excel file. Below is an example of the data in an excel file and related managed table structure.
If you have not created a managed table already, then please refer to the article on how to create a managed table.
Step-by-step guide
1. Create a new action step, hover your mouse over the group name, click on the three dots that appear on the right and then select "Add action step"

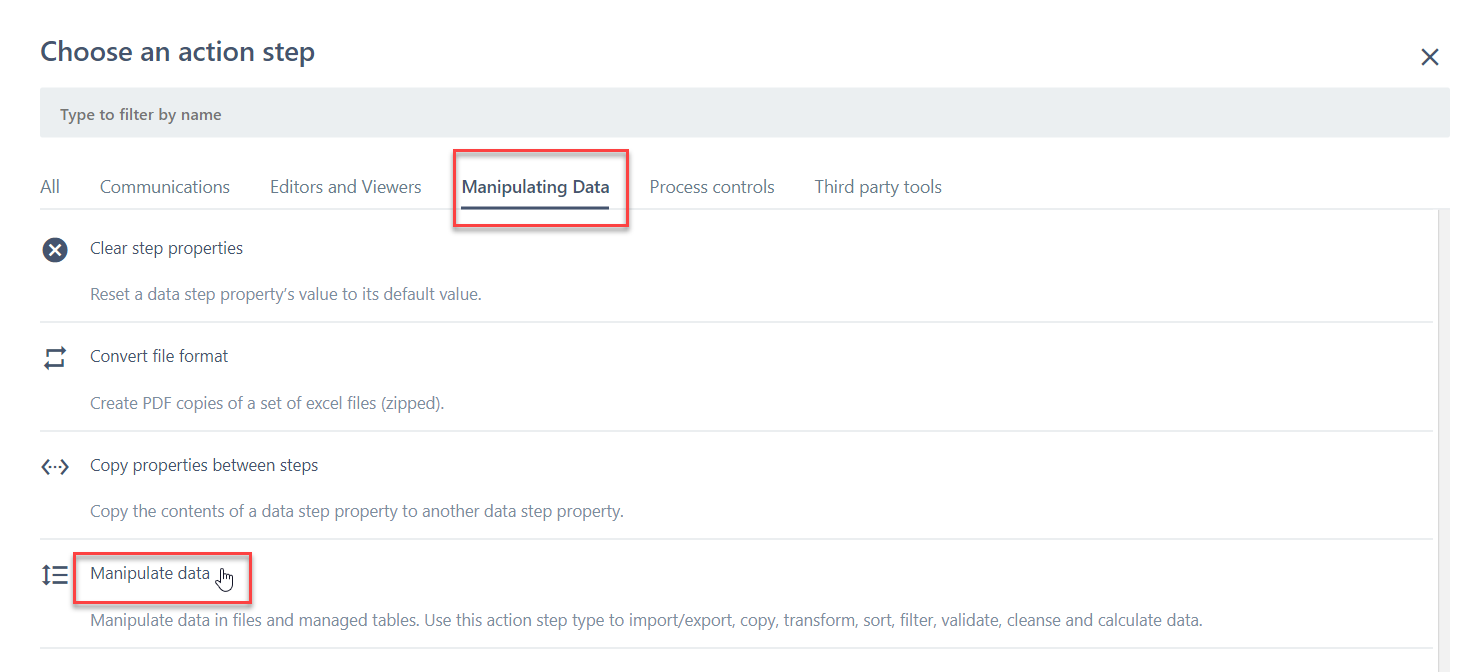
2. The below window will appear. Go to the "Manipulating Data" tab and then click on "Manipulate data".
3. In the manipulate data action step, click on "SELECT INSTRUCTION TYPE"
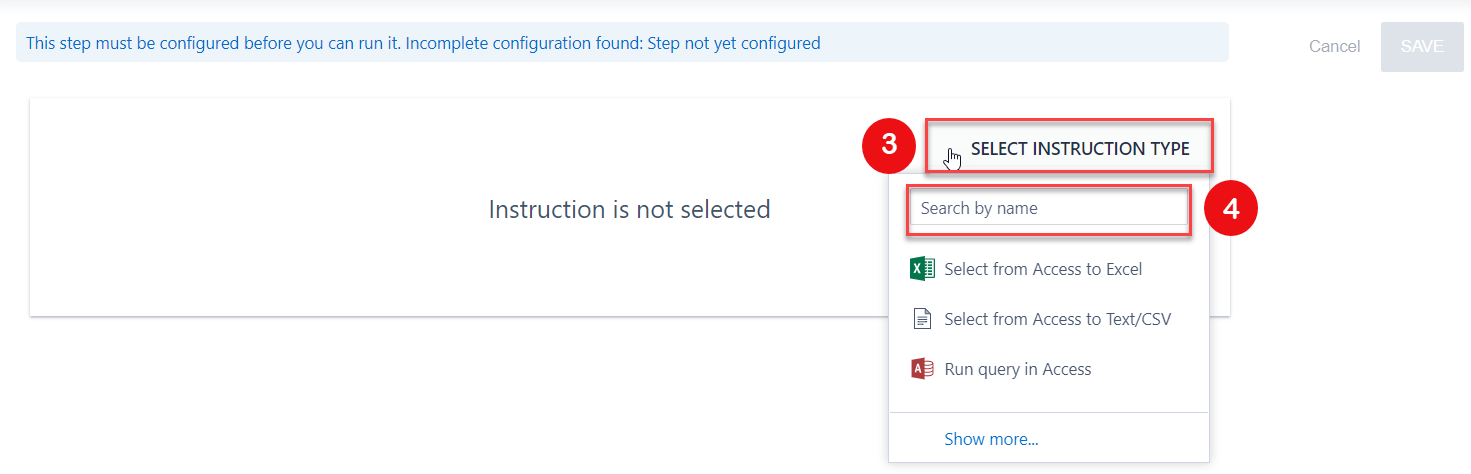
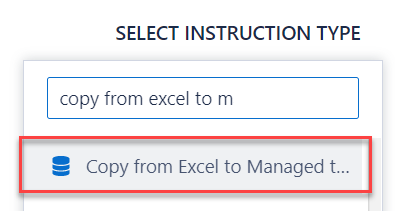
4. Select the "Copy from Excel to Managed table" instruction that has the managed table symbol beside it.
For steps 5-8, refer to this image:
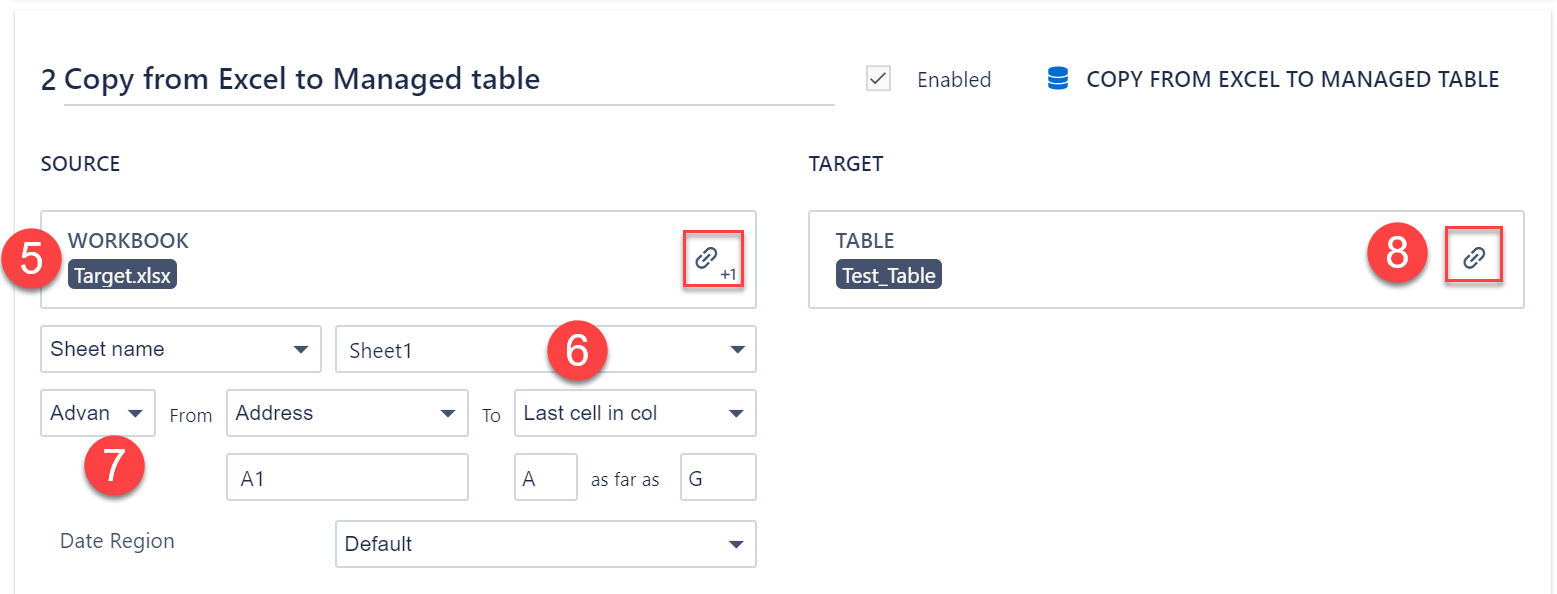
5. On the source side, click on the link symbol on the right and select the Excel file that you want to import into the managed table. Another way to link a file is to type the name of the Excel file into the linking box.
6. Select an Excel worksheet from the drop-down list.
7. Specify a source range address or source range name that specifies the data that will be exported to the managed table.
8. On the target side, click on the link symbol on the right and select a managed table. Alternatively, type the name of the table into the linking box.
For steps 9-12, refer to this image:
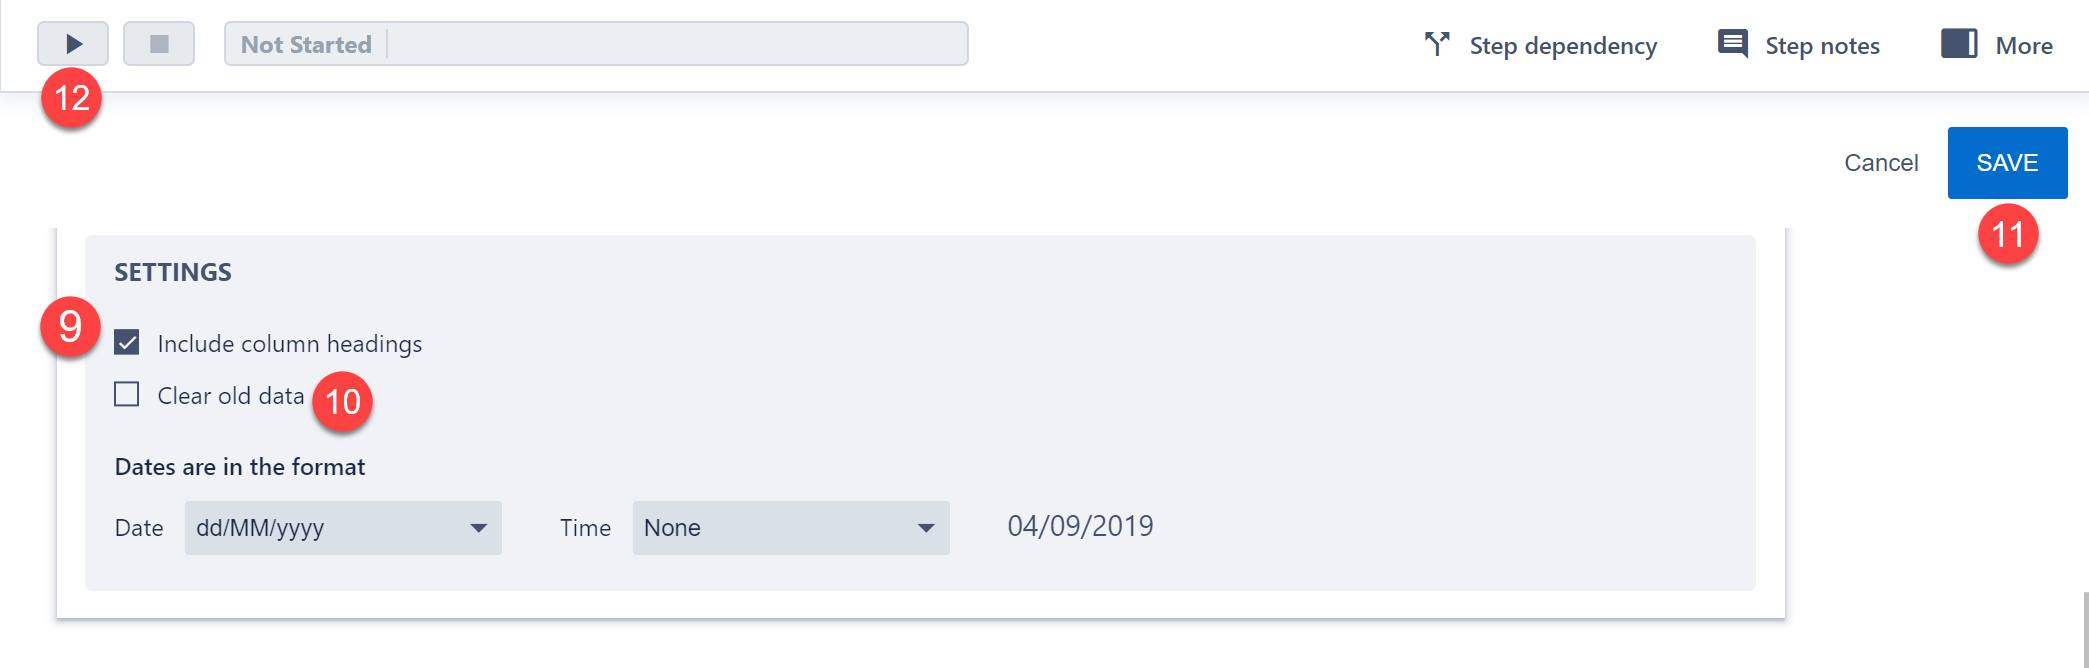
9. Tick the “Include column headings” checkbox, if selected excel source range contains heading row.
10. Tick the “Clear old data” checkbox, if the selected target managed table should be cleared before importing the new data.
11. Click on "SAVE" button to save the step detail.
12. Click on the Run symbol to run the step.
After step completes successfully, the selected source excel data will be imported into the target managed table.
Comments
0 comments
Please sign in to leave a comment.