
Columns can be added to both existing and new managed tables.
How to add columns to the managed table
There are rules around column names in managed tables. Each column name should:
- Be at least three characters in length.
- Not contain any spaces.
- Not start with a number.
- Contain only letters, numbers or underscores.
Columns in managed tables support 5 data types: Number, Currency, Datetime, Fixed Length Text and True/False.
- Fields with data types of Number, Currency, Datetime and True/False will validate and only accept data that has a matching type (e.g. you can't store a text value in a number column).
- If you are unsure of the data type that is needed, select Fixed Length Text - as this data type can store data in a text format.
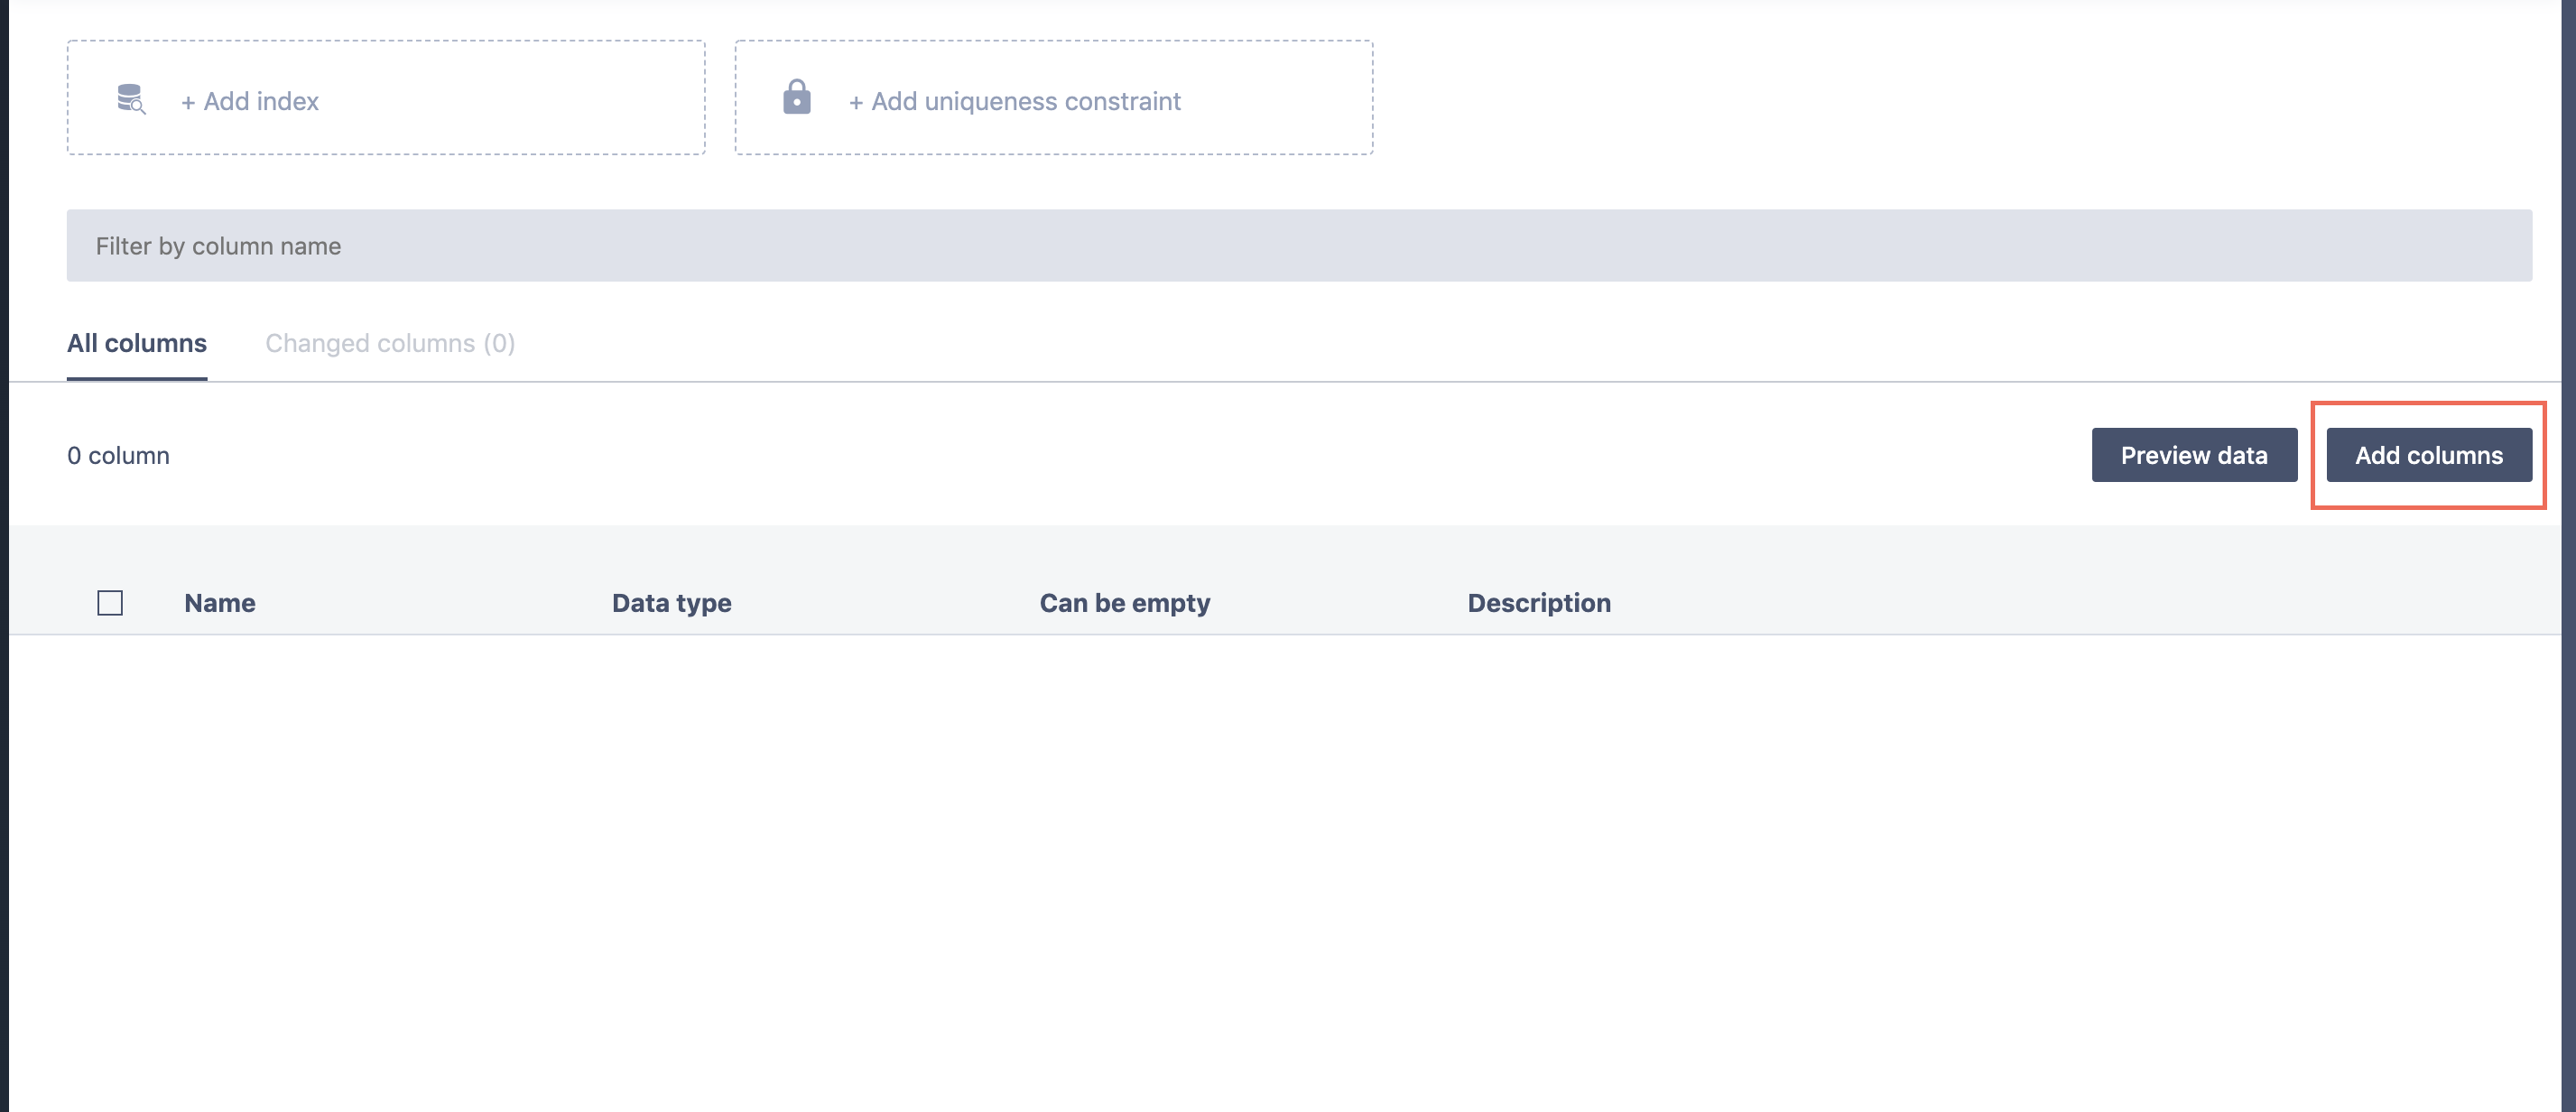
1. Open the managed table.
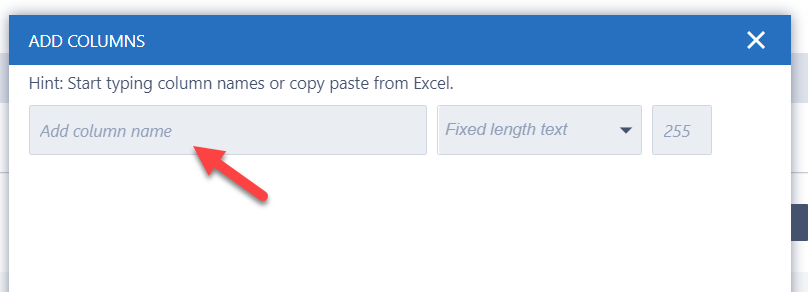
2. Click Add columns.
3. Specify column names and types of data they are supposed to store.
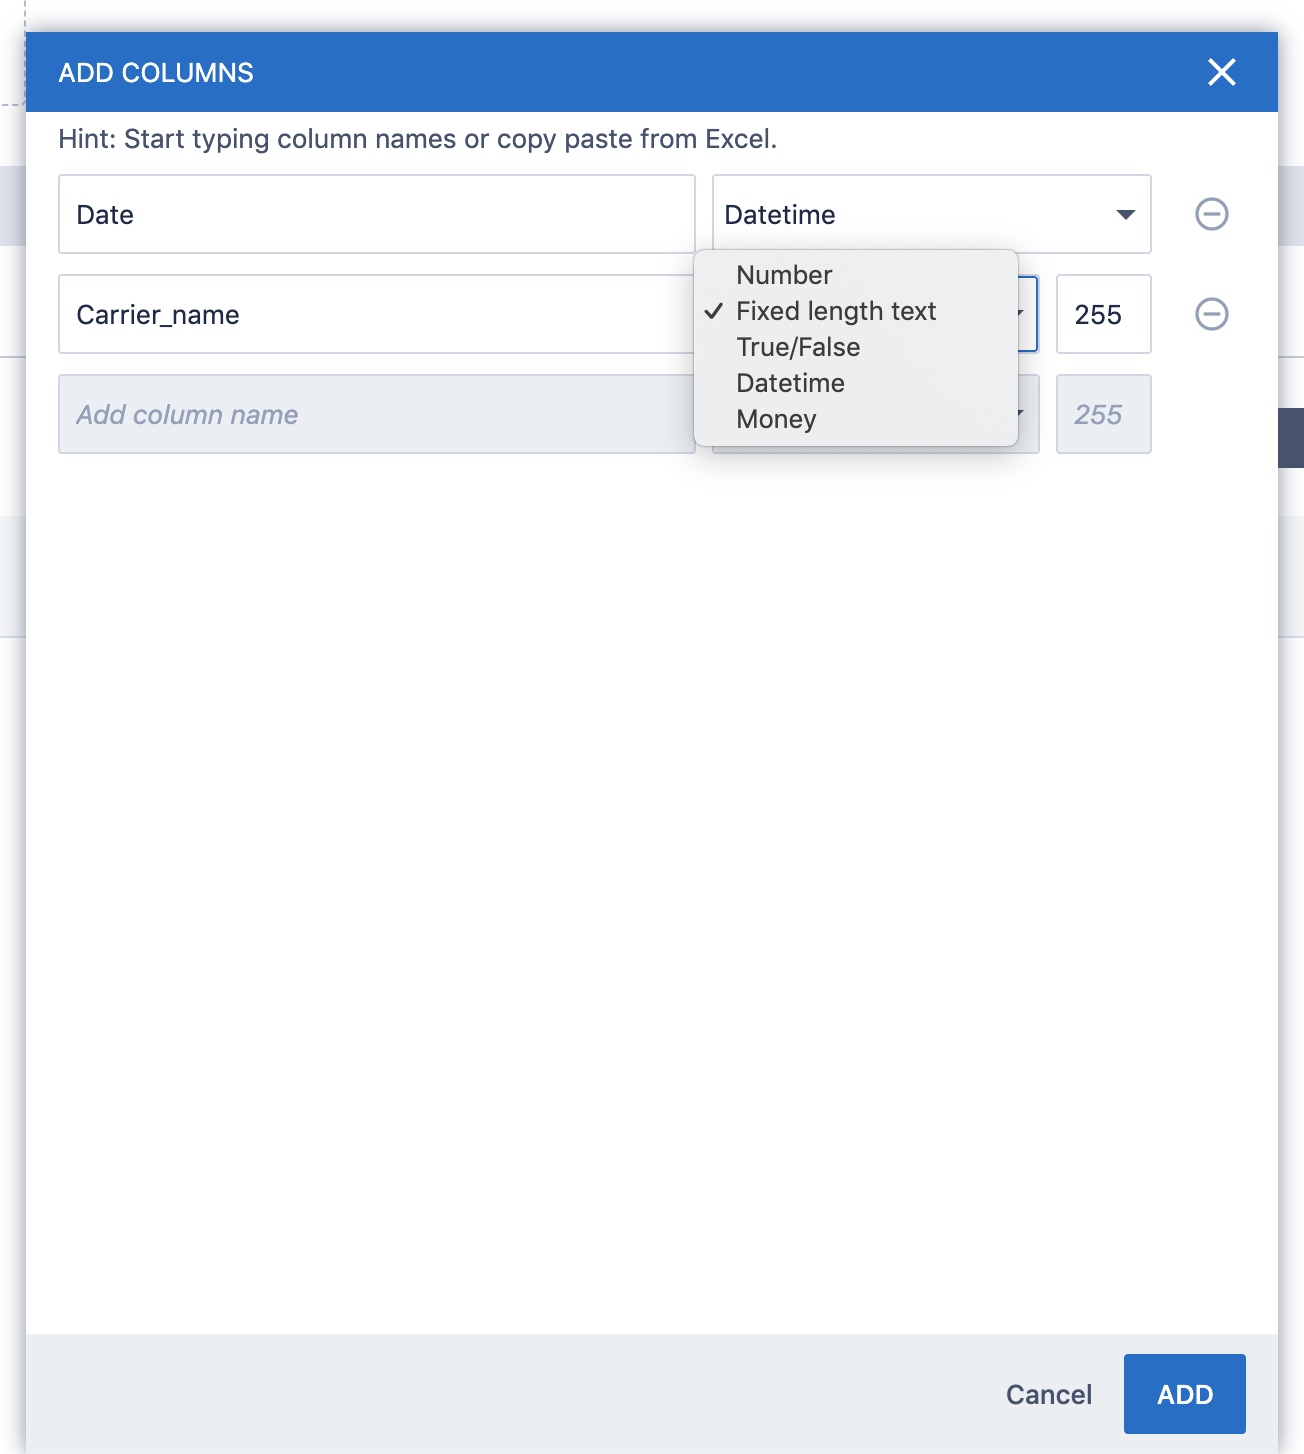
4. Click Add.
- The structure of your managed table will be updated with new columns.
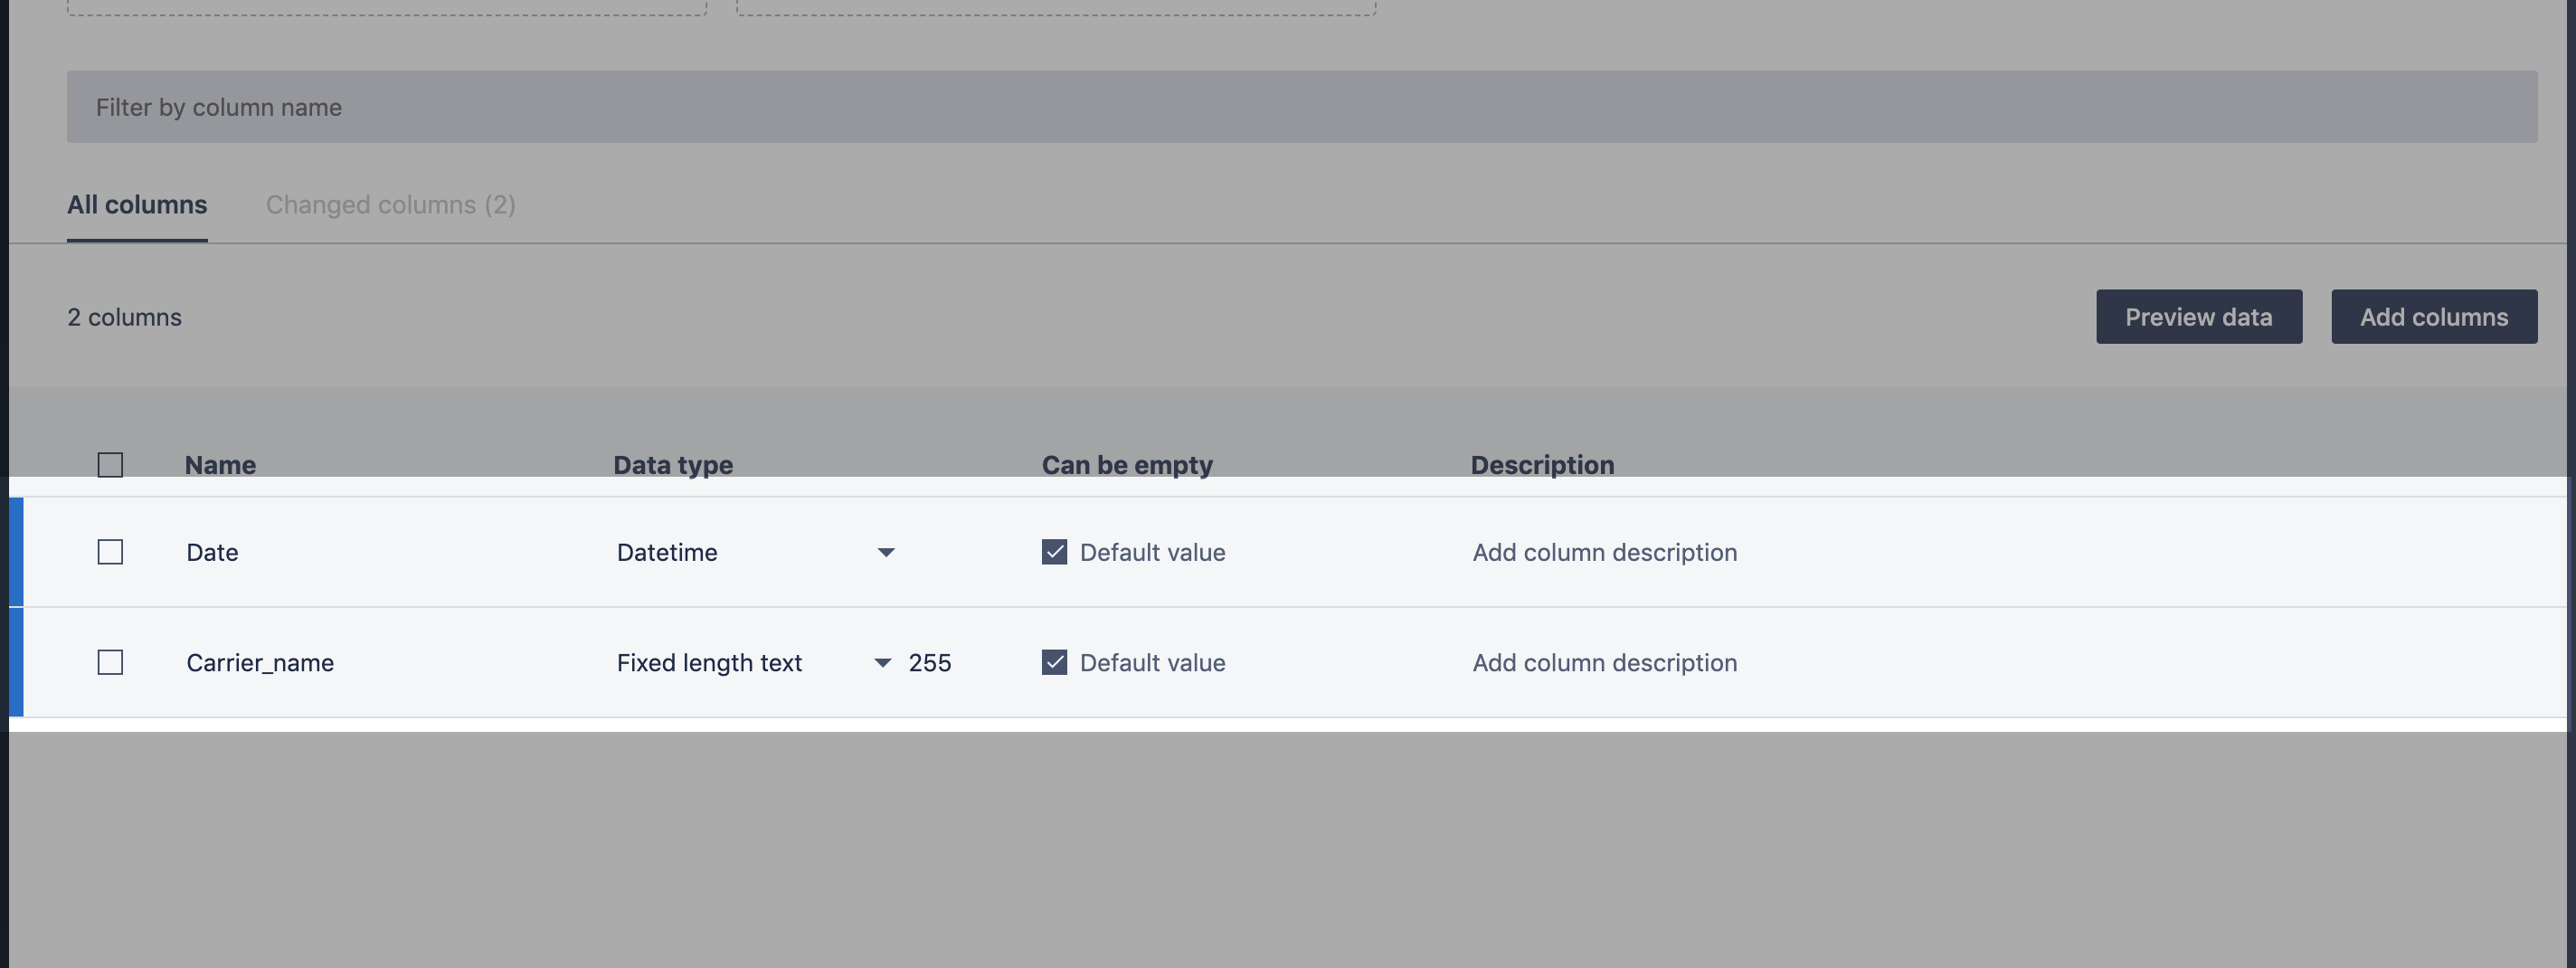
5. Through this view, a few more details can be added such as whether the column can be empty or not, a default value and a description.
6. Click Save (in the top right) to apply your changes.
Tips and Tricks
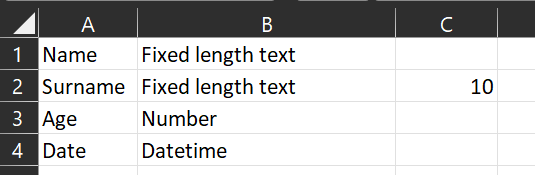
If you have multiple columns to add, rather than manually typing each of them, you can copy and paste from an existing source, for example, the headers in an Excel or CSV file. To this:
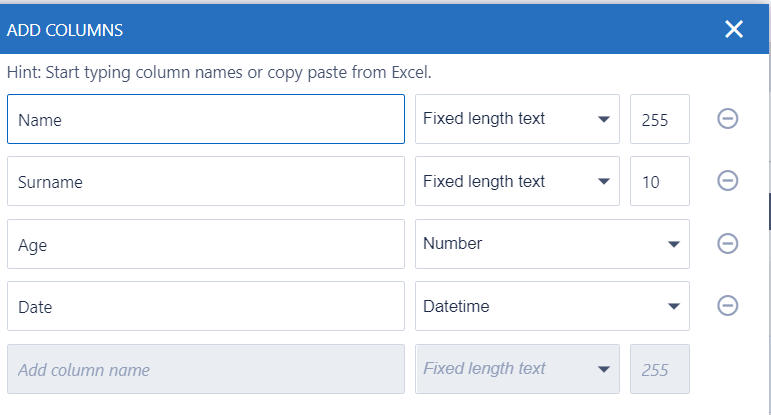
1. Transpose the headers so they are in a column, then for each column specify the data type, these can be Fixed length text, Number, True/False, Datetime or Money. Optionally, in your text columns, you can define the character length, otherwise, it'd default to 255. Your table should look like this:
2. Copy the Excel table and go to the Add columns sections, select the first empty box and paste the selection:
3. The columns will be added to your managed table:
Comments
0 comments
Please sign in to leave a comment.