
Before reading this article, make sure you know how to create a managed table. Click on the link below:
A proper design of your managed tables can help you to ensure stability and reliability of your processes that work with your managed tables.
How to add columns to the managed table
There are rules around column names in managed tables. Each column name should:
- Be at least three characters in length.
- Not contain any spaces.
- Not start with a number.
- Contain only letters, numbers or underscores.
Columns in managed tables support 5 data types: Number, Currency, Datetime, Fixed Length Text and True/False.
- Fields with data types of Number, Currency, Datetime and True/False will validate and only accept data that has a matching type (e.g. you can't store a text value in a number column).
- If you are unsure of the data type that is needed, select Fixed Length Text - as this data type can store data in a text format.
1. Open the managed table.
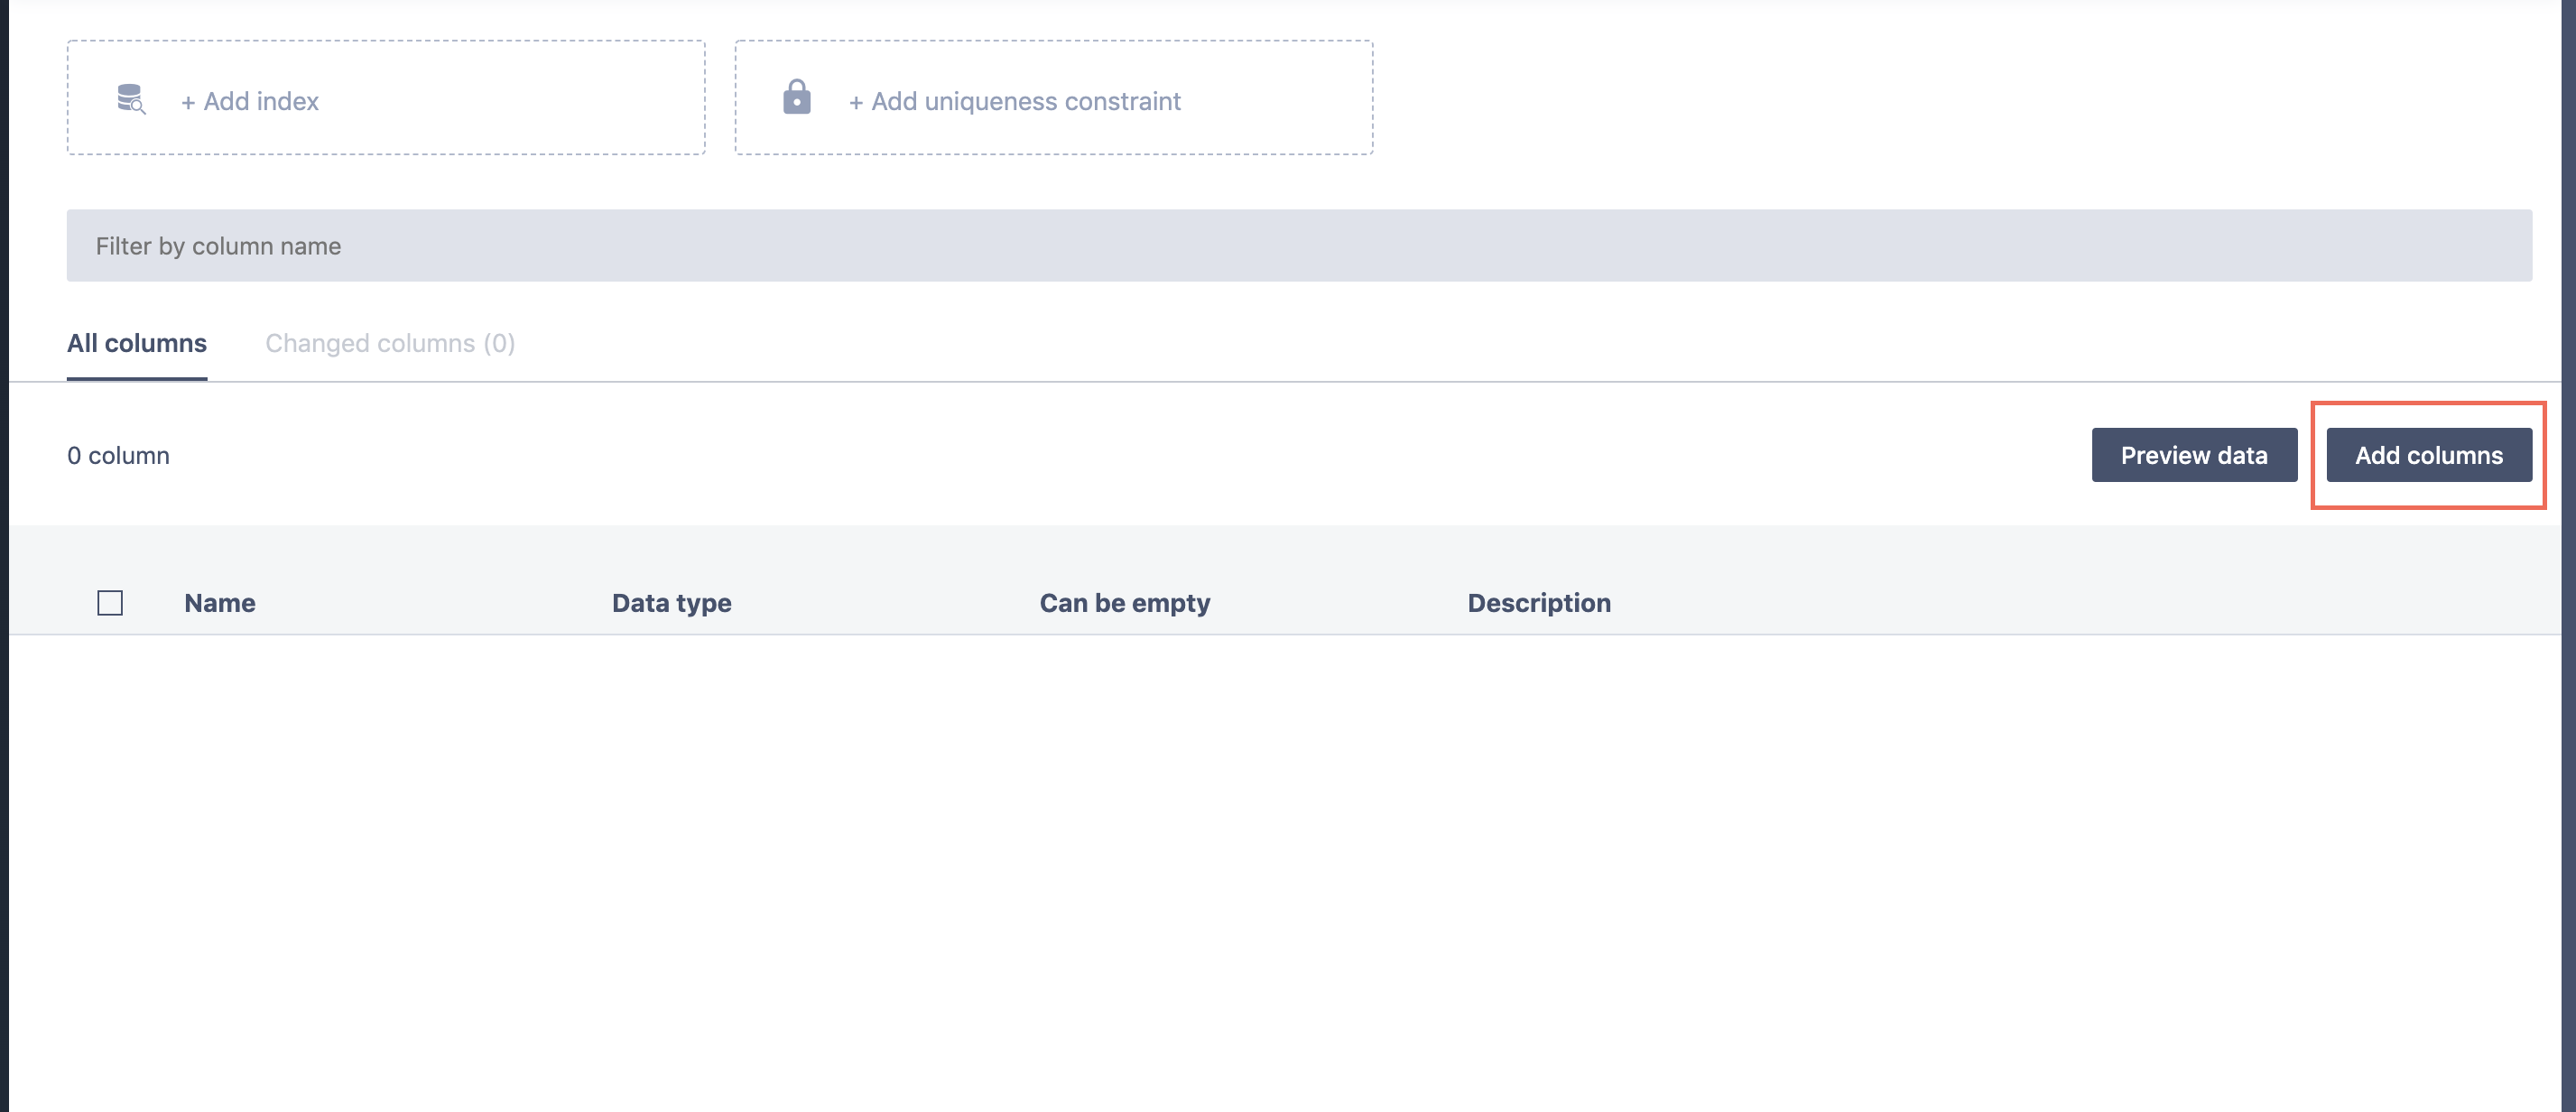
2. Click Add columns.
3. Specify column names and types of data they are supposed to store.
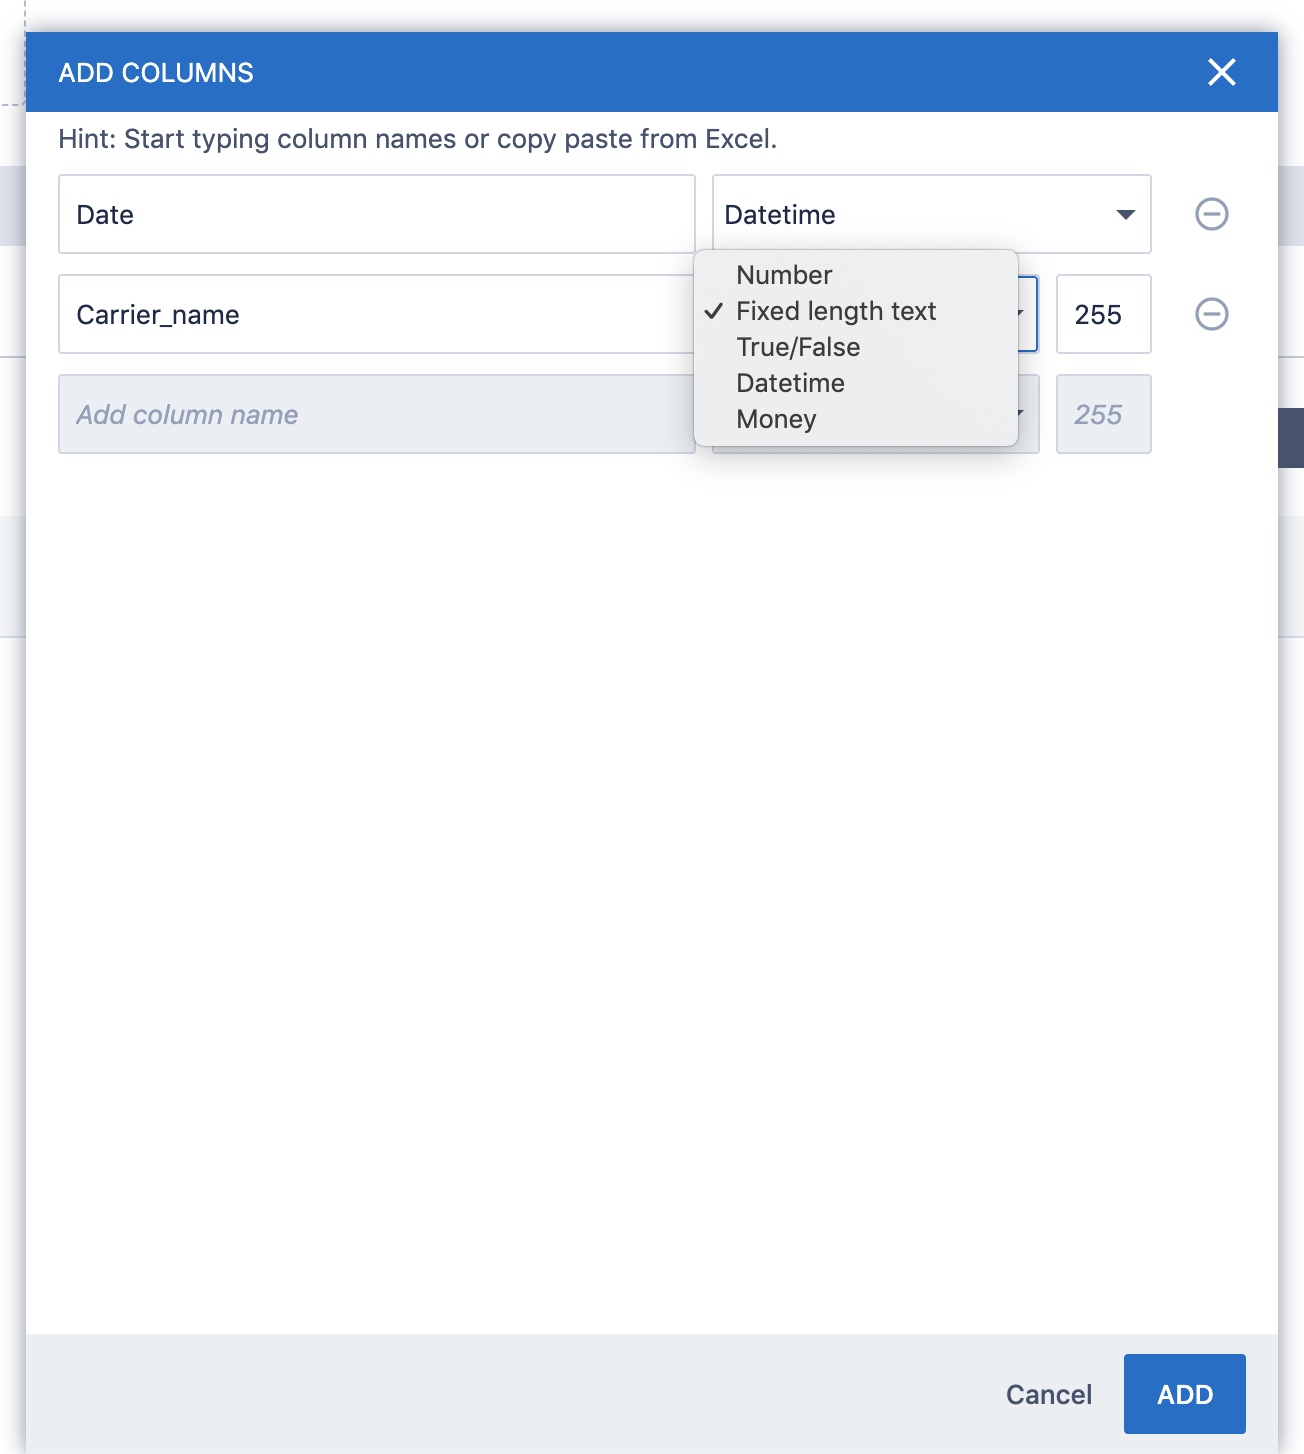
4. Click Add.
- The structure of you managed table will be updated with new columns.
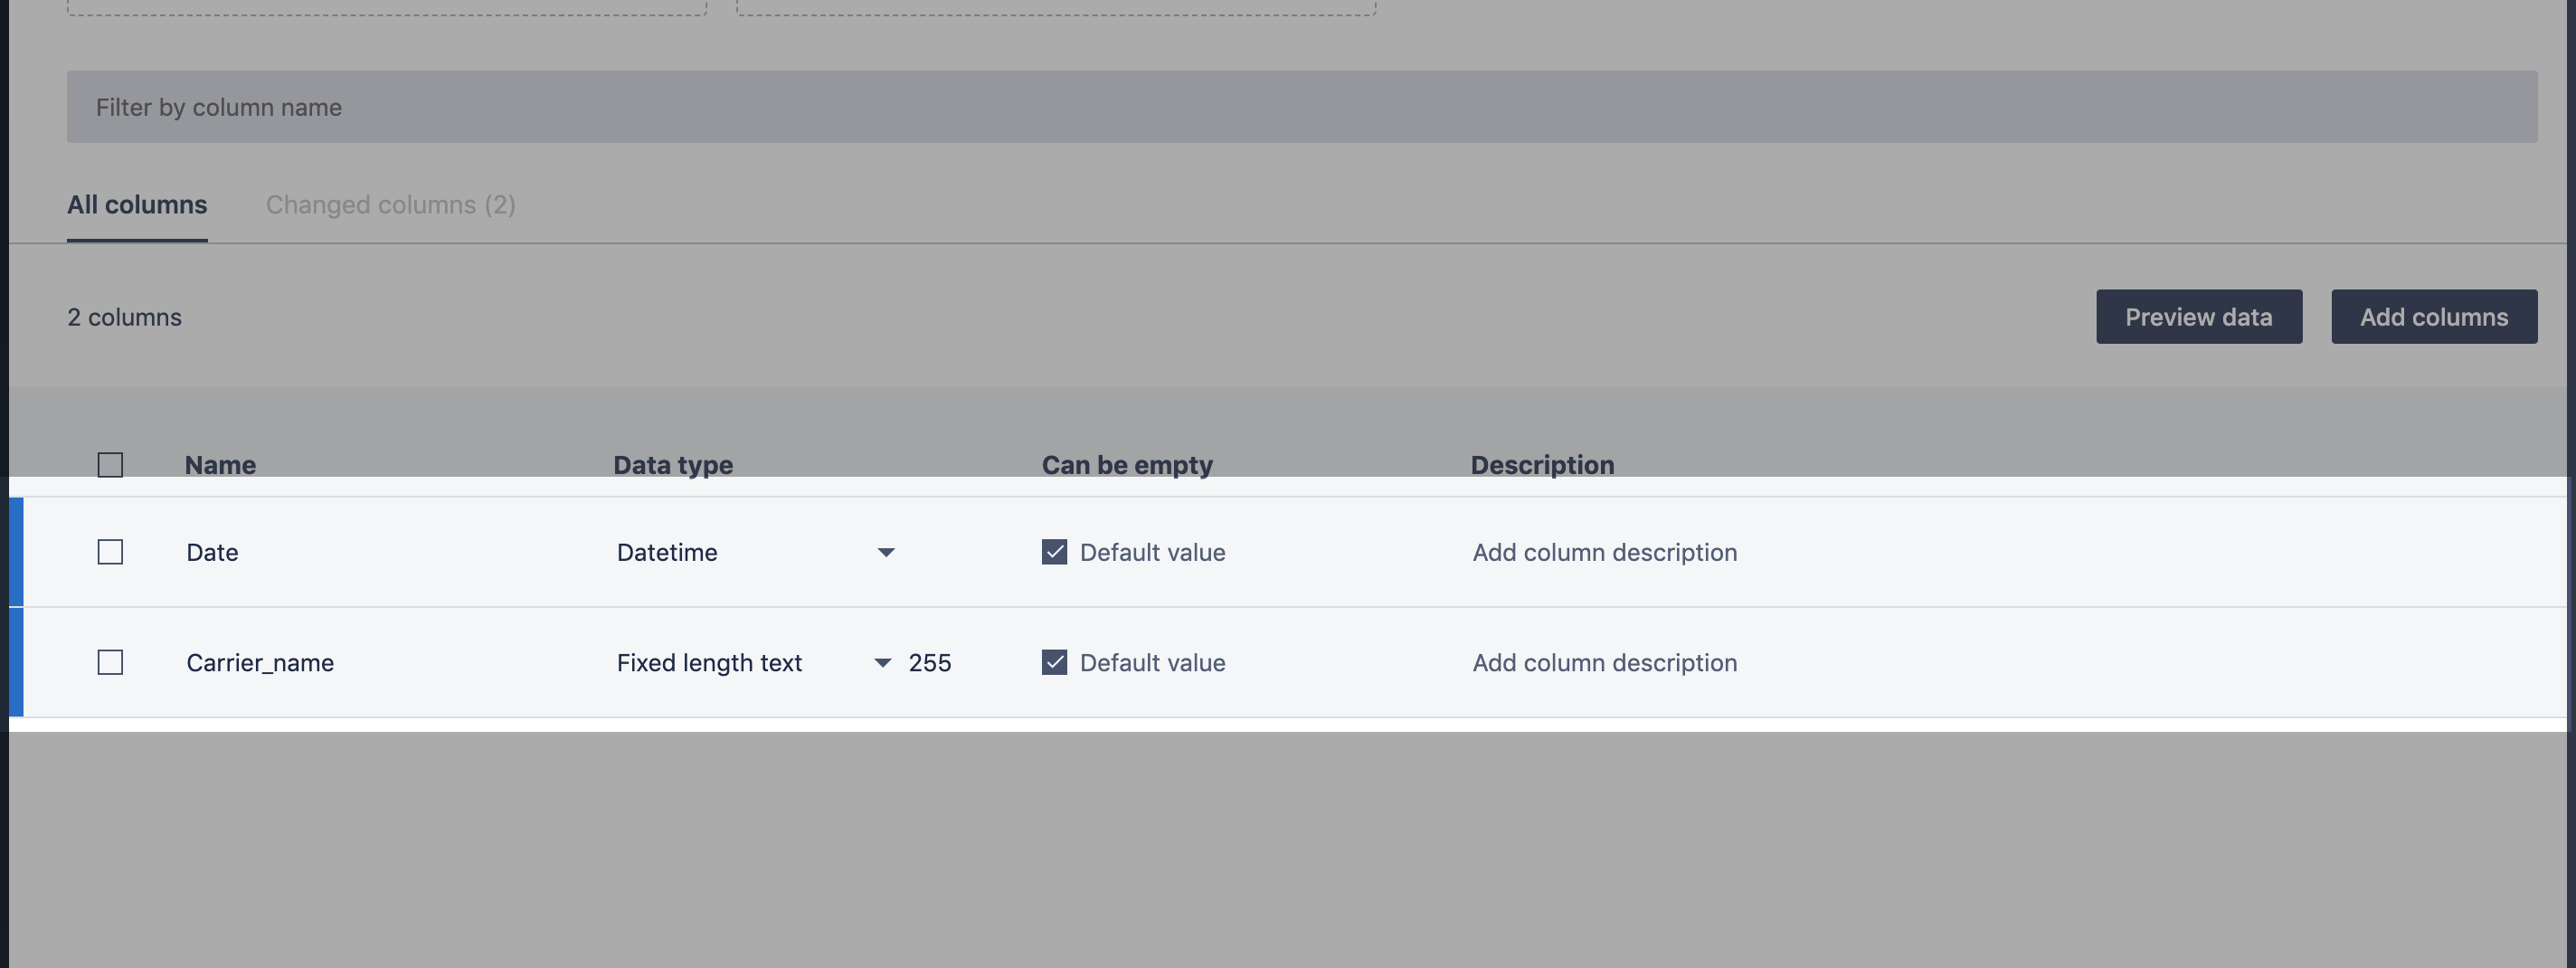
5. Click Save to apply your changes.
How to delete/remove columns from the managed table
1. Open the managed table.
2. Tick checkboxes next to columns you want to delete.
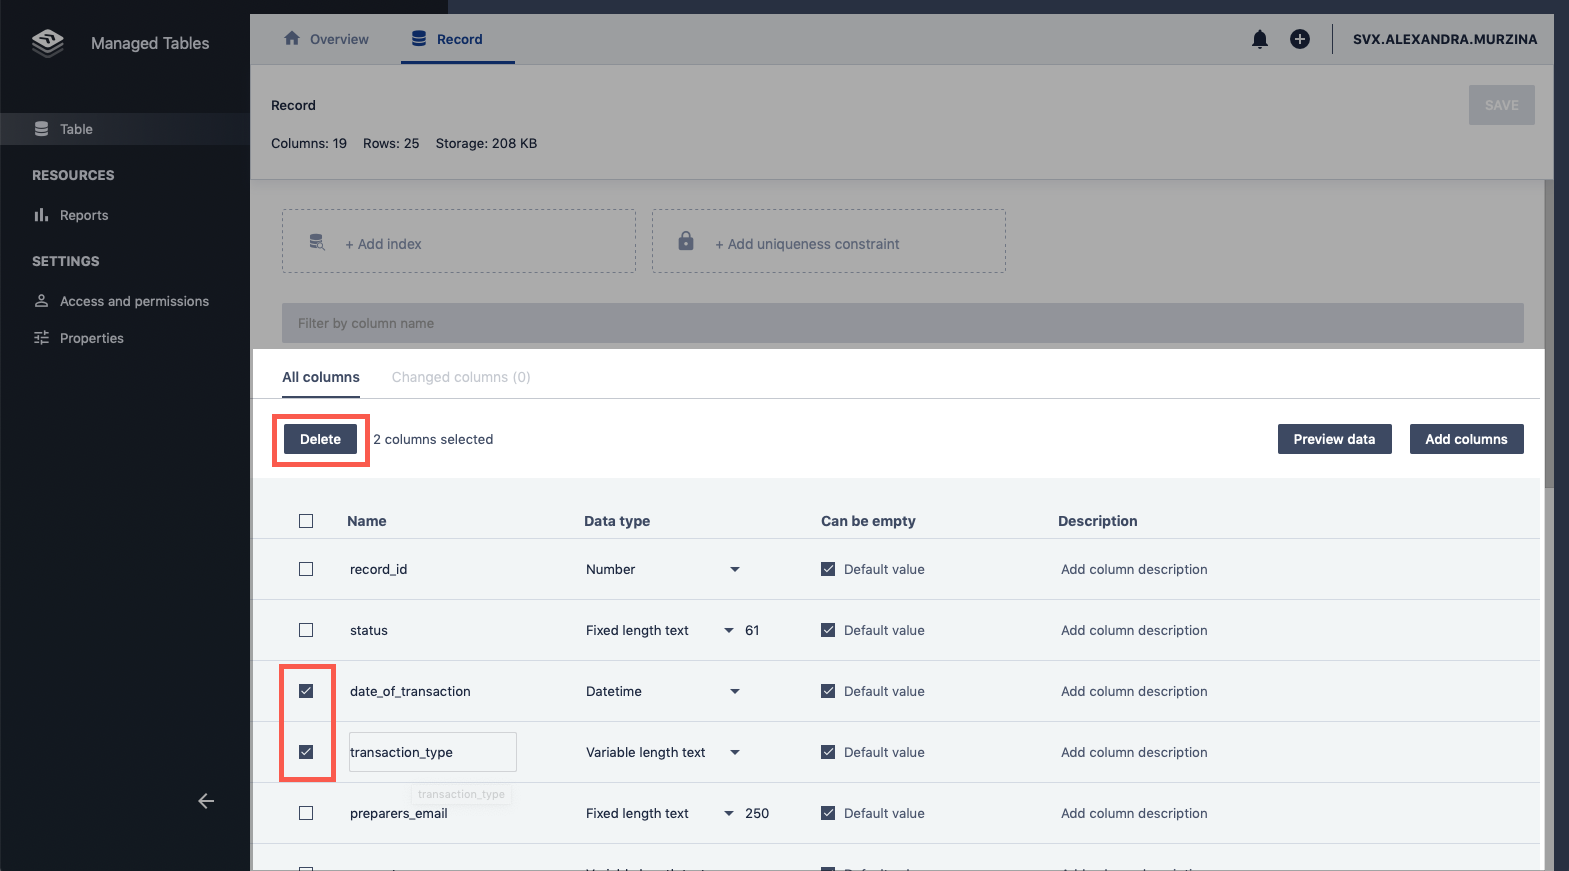
3. Click Delete.
- Columns will appear in red indicating that on Save they are doing to be removed from the table.
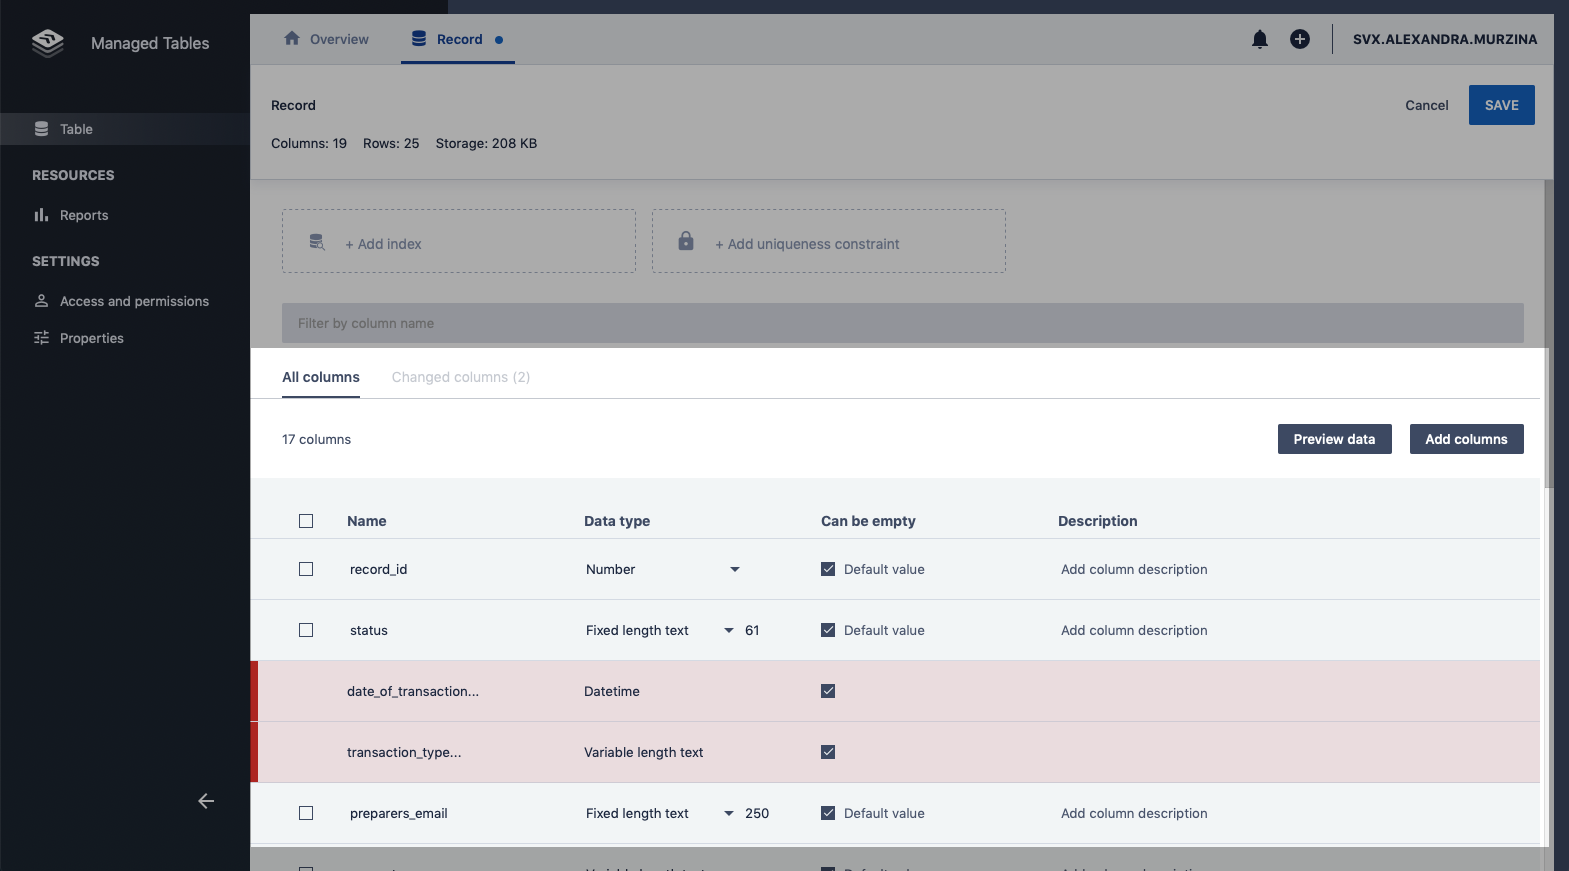
4. Click Save to apply changes.
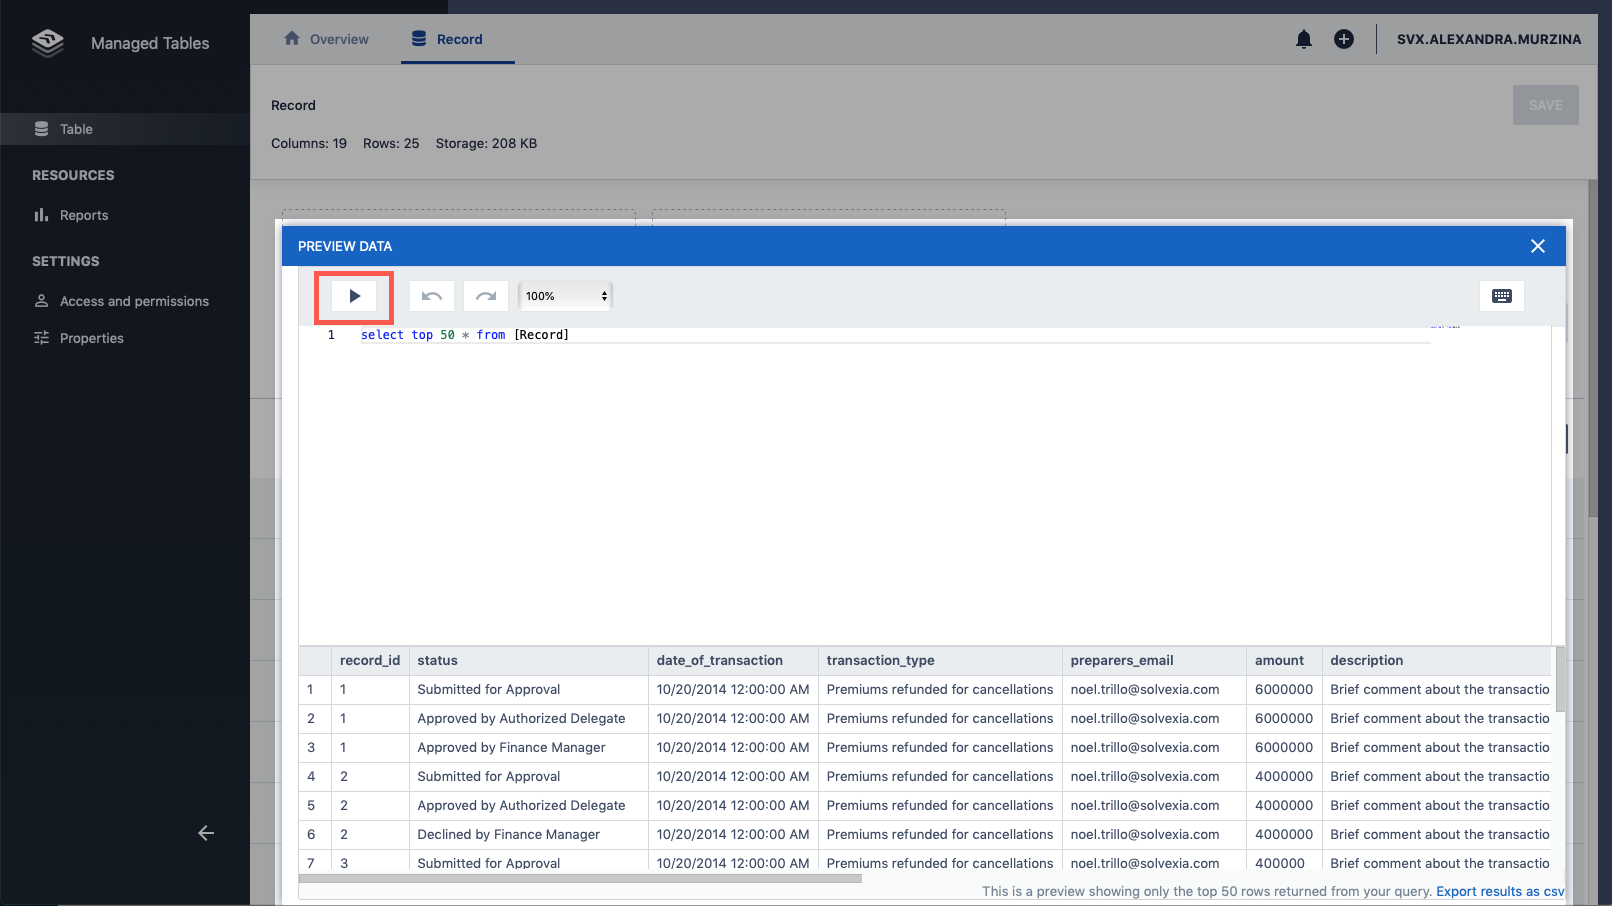
How to preview data of managed table
1. Open the managed table.
2. Click Preview data.
- The modal will appear with the simple SELECT query.
3. Press Play button to preview data.
Comments
0 comments
Please sign in to leave a comment.