
You can set up permissions for different users or user groups to your table by assigning to them different roles from Reader, Editor and Owner. Each role sets a unique level of access the user or user group will have to the process to be able to view or make changes.
Reader: Any user you give this role to can view the table and its data, but cannot edit, delete or grant permissions to the table.
Editor: Any user you give this role to can view and edit the structure and data within the table, but cannot delete or grant permissions to other users in the system.
Owner: Any user you give this role to can view, edit the structure and data within the table, delete and grant permissions to other users in the system. The creator of the table is automatically an owner.
Note: A user will need to have at least Editor permissions if they run a process that edits data within the table.
Learn more about SolveXia roles and permissions.
How to give access to the table
1. Open the table (managed table or virtual table).
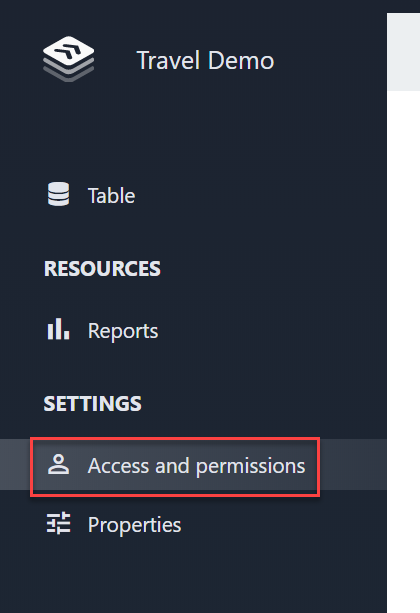
2. Choose the menu item on the left Access and permissions.
3. Choose the role you want to grant to the user or user group.
4. Type the user or user group name in the box next to the role to see all available users and groups in the system.
5. Click on the user you're looking for.
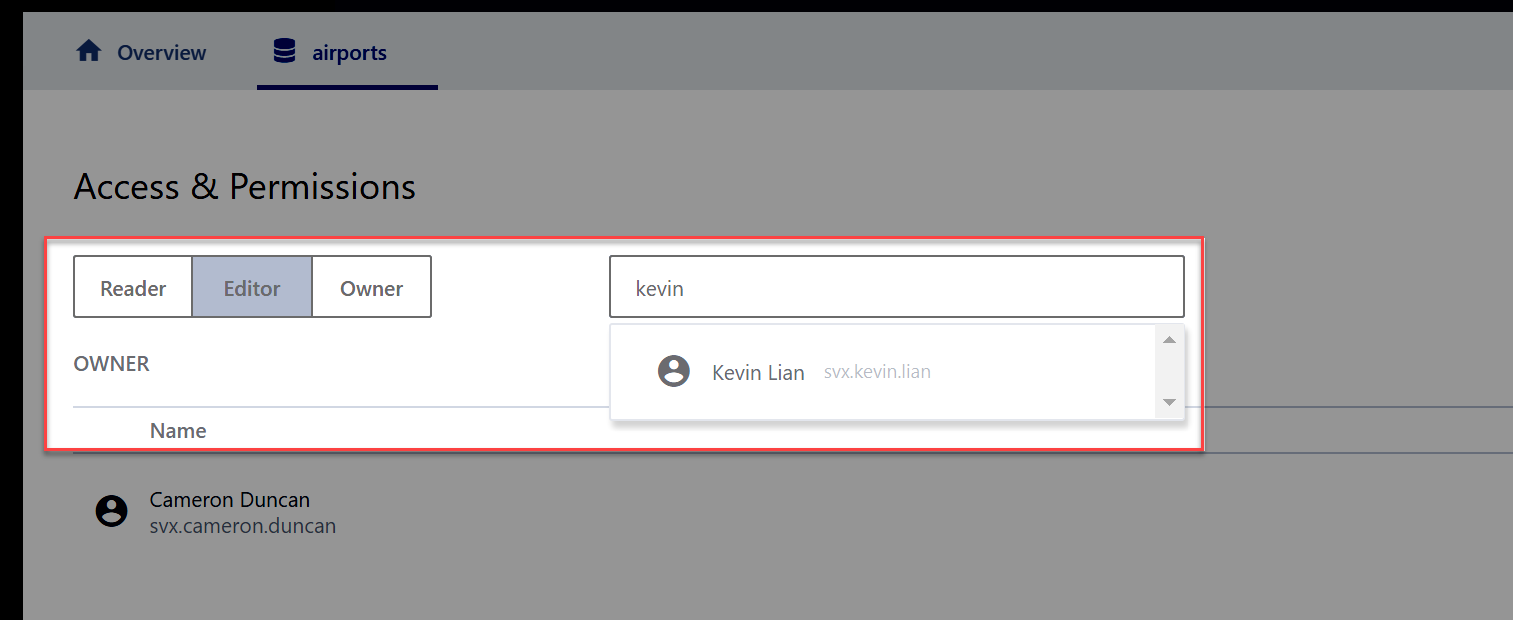
The user will appear in the list below.
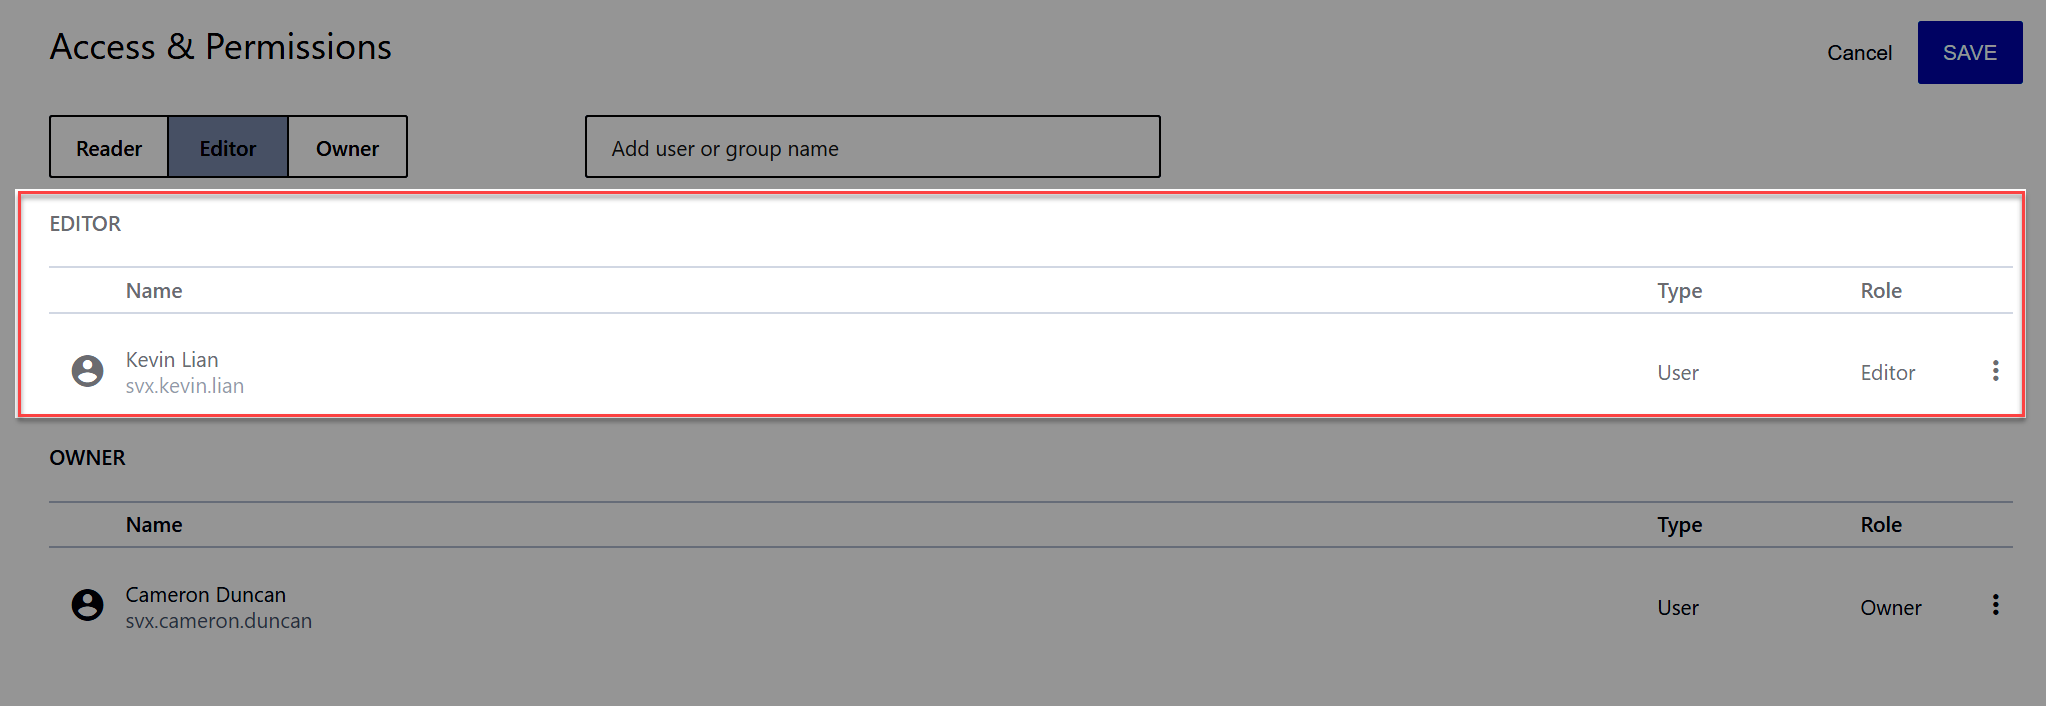
6. Click Save.
How to change or remove access to the table
1. Navigate to the process you want to manage access to and choose the menu item on the left Access and permissions.
2. Click the menu icon next to the user or user group you want to change access for.
3. Change or remove the role by selecting one of the menu items.
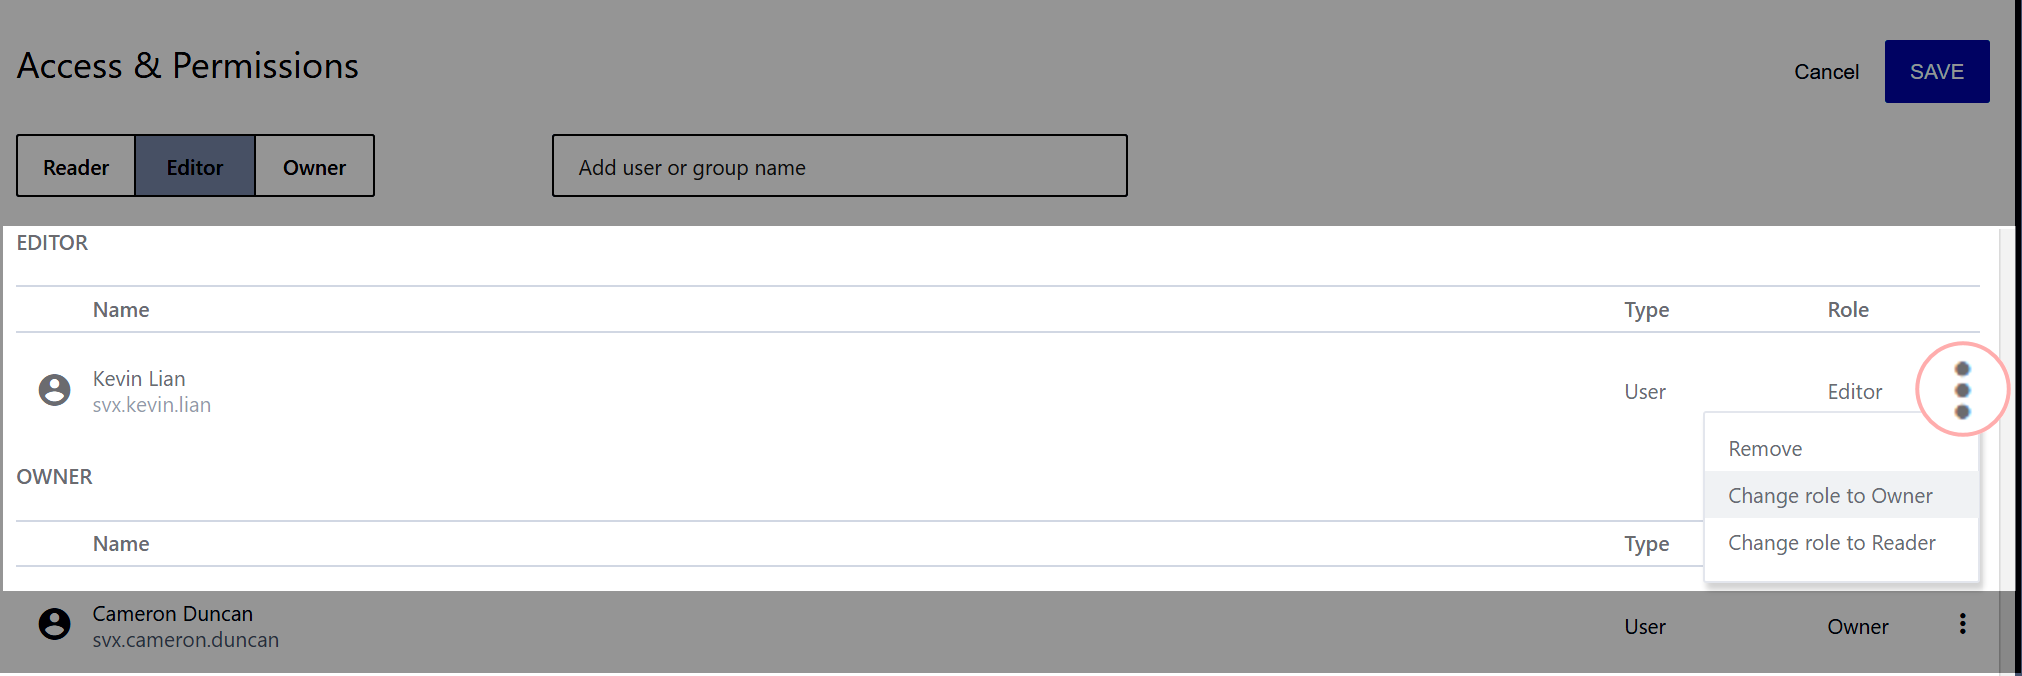
4. Click Save.
Comments
0 comments
Please sign in to leave a comment.