Action steps come in many shapes and forms. However, viewing and editing these steps is quite simple as they are usually viewed and edited in very similar ways.
Viewing an action step
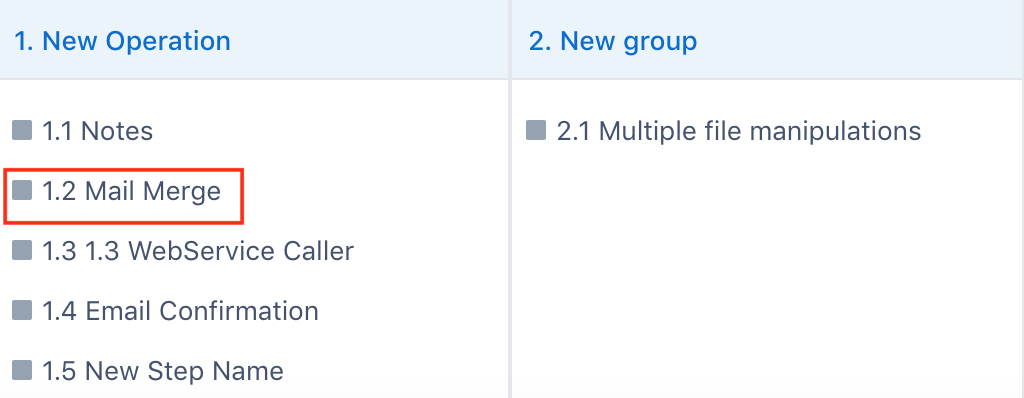
Viewing an action step is quite simple: simply find the desired action step in the design pane at the bottom of the screen and click on the desired action step.
Editing action steps
Links to other properties:
1. Once viewing action step, you can add or change your current links. This can be done by clicking on the link symbol in the workbook field.
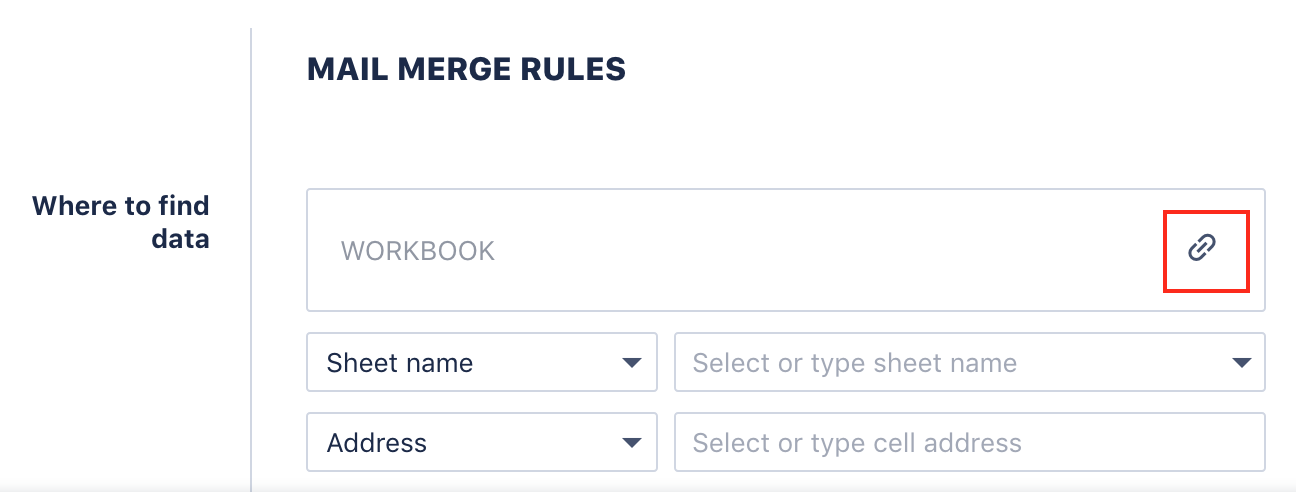
2. Here you will see drop down menus to give you options of linking to a step or property type (e.g. file) in a process. Furthermore, if you wish to link to a process with a different property type or would like to use a "search" feature to find your process, simply type in the search bar on the right.
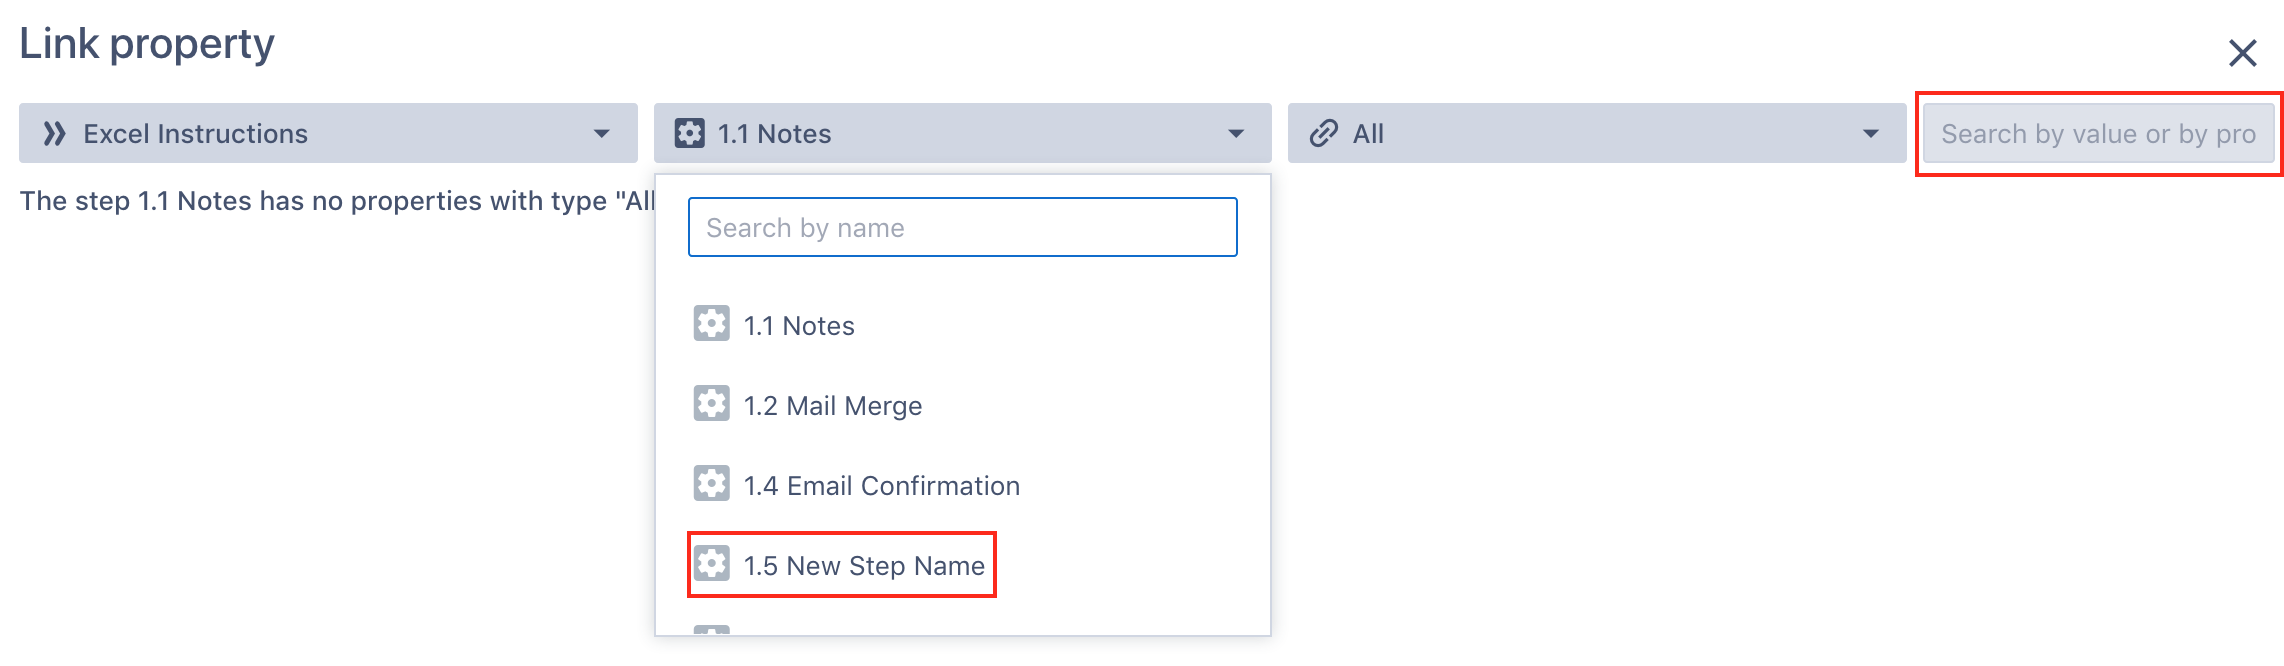 3. Once the desired data step property has been selected, simply click on "Link".

NB: You can link multiple files, you will see a "+1", "+2" etc. next to the link icon if you have done so.
Drop-down lists:
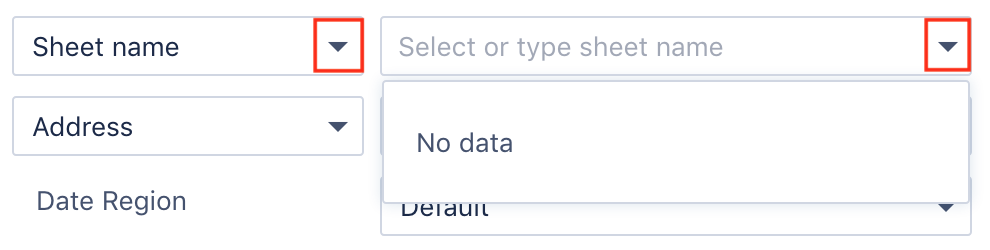
Some action step instructions also require the designer to input details through a drop-down list. The most common feature that uses drop-down list is when choosing the worksheet and data range for a linked Excel workbook:
1. This is quite intuitive as you can simply click on the arrow and click on your desired option. Usually one option has to be selected out of the given options in the list.
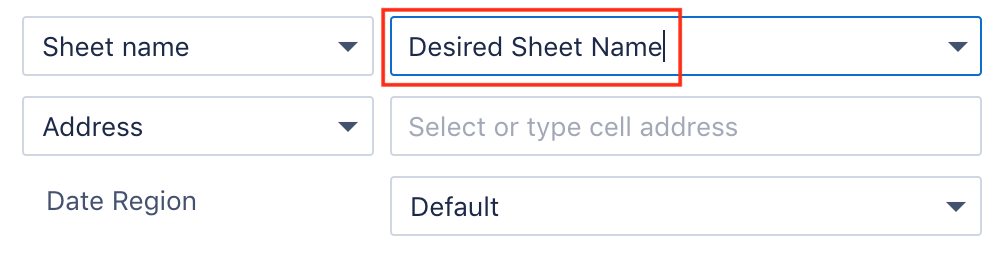
Text-boxes:
Text-boxes are used when the designer of a process is required to enter a specific value or name as part of the configuration of an action step instruction. 
Check-boxes:
Check-boxes in an action step instruction configuration are typically used for a designer to indicate a yes/no flag for a specific input. Note that Check-boxes appear as a square.

For example in the screen shot above, there is a check-box for "Copy cell format" at the bottom. If the check-box is left unticked, then this means the designer intends the instruction to copy cell format.
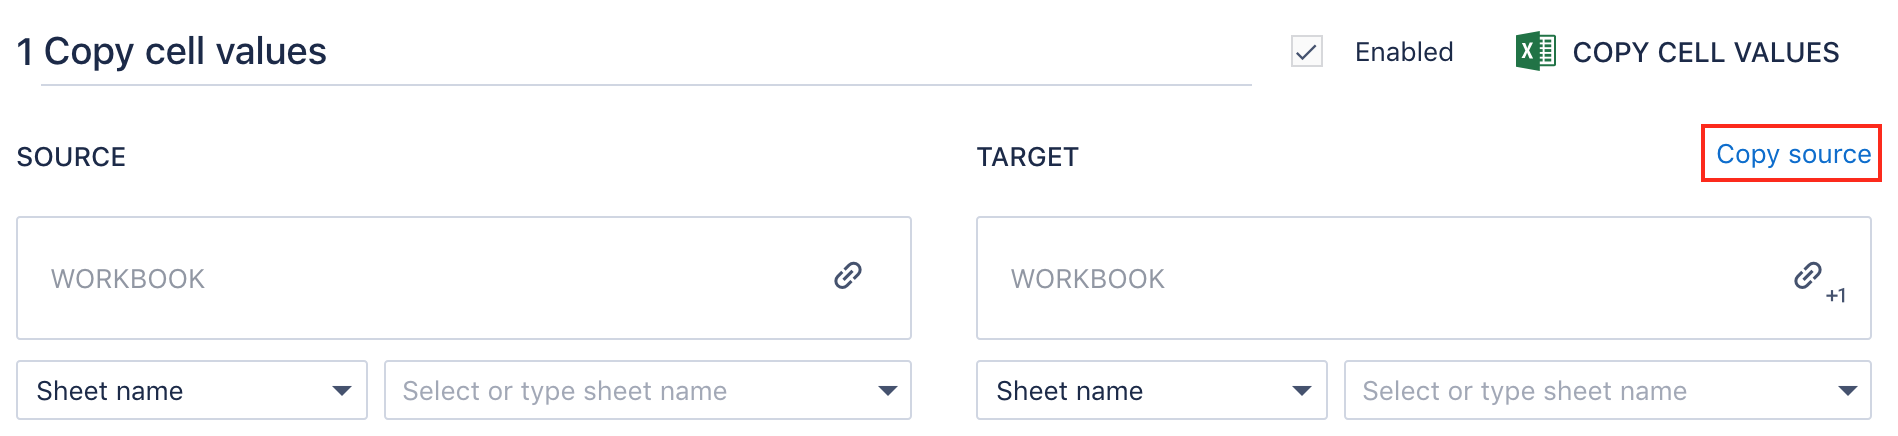
"Copy Source":
In certain action step instructions that involve a a source file and a target file, it is possible to utilise the "Copy Source" shortcut to speed up the configuration and the process building.
You can use this if the configuration for the target data range is the same (or similar) to the configuration for the source data range. For example, if trying to hard-code values in an Excel spreadsheet, you can simply use the "Copy cell values" instruction with the same source and target range.
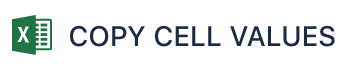
To get to "Copy cell values" instructions:
1. Create a new action step
2. Add instruction in "Manipulate data" (Manipulating data)
3. Select "Copy cell values"
In cases like this, you can simply configure the source data range first (without having configured the target range yet). If you then click on "Copy Source", then the target range will automatically be filled in to be exactly the same as that for the source range.
Number selectors
Other times, there may be a need to select a number from a number selector. For instance, when choosing a days, hours or minutes when configuring email confirmation set up, you can simply click on the arrow keys to iterate up or down for the number:

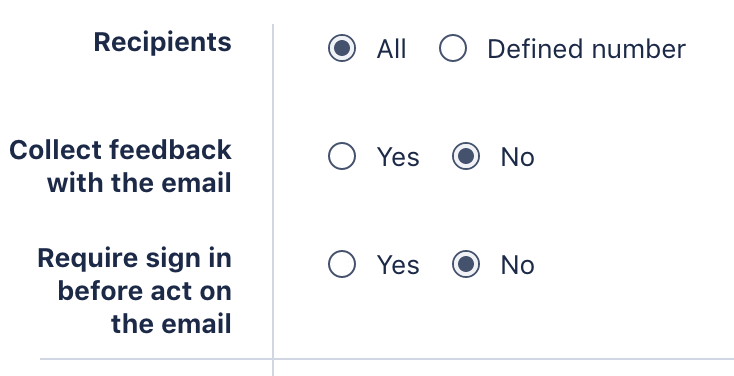
Radio buttons
Radio buttons are options in instruction configurations that allow the designer to select one of a range of options. For example, in the screenshot below, the designer can either select a "number", "string", "date", "currency" or "Boolean" as the data type for the value typed in the box on top. Note that radio buttons appear as a circle and should be distinguished from "check-boxes" (described in an earlier section) which appear as a square box.
Comments
0 comments
Please sign in to leave a comment.