
Create ranges from headings is a Manipulate Data instruction that allows the user to create named ranges in Excel based on the column headings.
This instruction can be used to name a range for each column in a table structure in Excel. These ranges can be later used by Excel functions or SolveXia instructions.
Suppose that we have the following data in Excel:
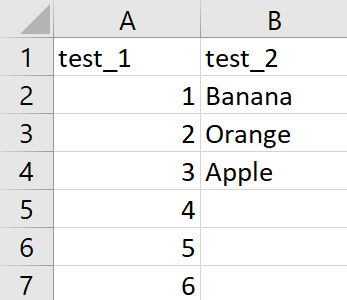
In this example, we want to use the "Create ranges from Headings" instruction to create two named ranges called "test_1" and "test_2".
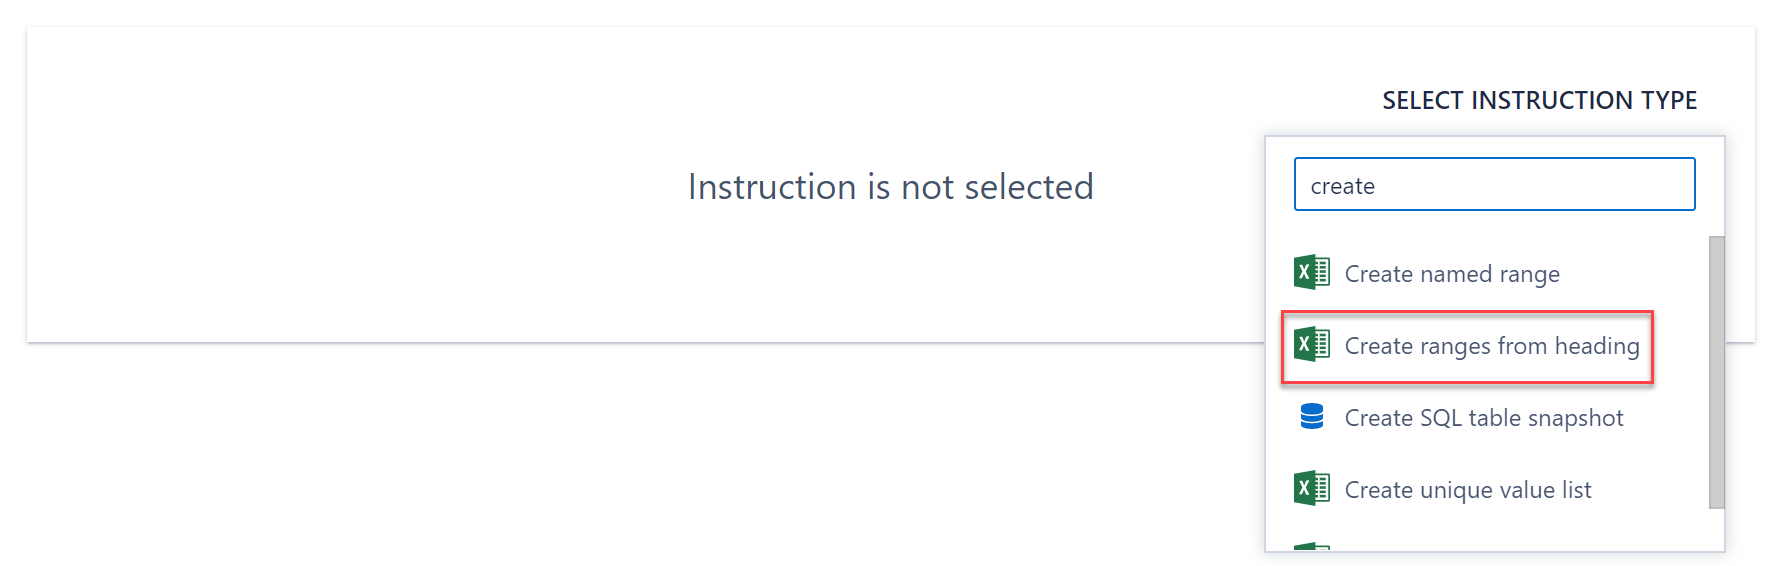
First, we will create an action step to manipulate data and then select the Create ranges from headings instruction:
Next, we will need to configure this instruction:
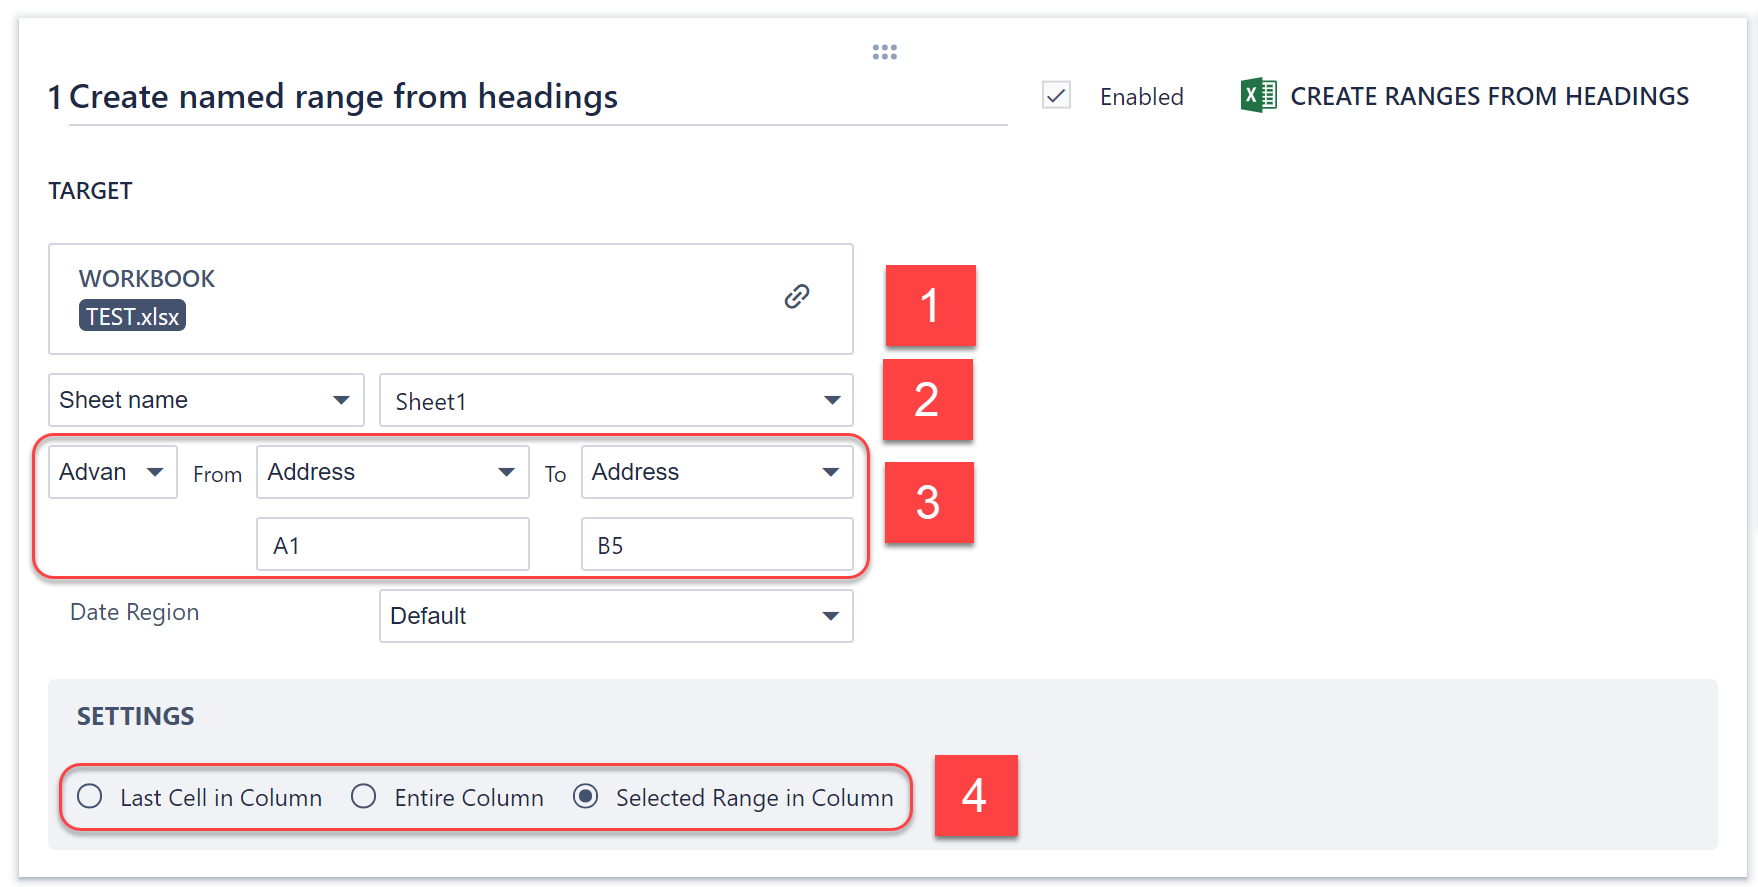
1. Link the Excel workbook that you want to create the named ranges for
2. Specify the worksheet that contains the table structure
3. Enter either the cell range of:
a. Just the header row in Excel.
b. The entire table or just a subset of the table structure in Excel, including the header row (recommended if using the "Selected Range in Column" option).
Note: The first row of the range will be treated as the header row, which will be used to name the columns. If you use the "Selected Range in Column" option in (4) then the cell range will also specify how far down the range will extend.
4. There are 3 different settings, which specify how far down the named range will extend.
a. Last Cell in Column - This will create a named range that extends to the last non-empty cell for each column. Notice that the ranges are able to be different lengths:

b. Entire Column - This configuration will create a named range for the entire column, including the header row.

c. Selected Range in Column - This will use the cell range specified in (3). In the example, the range specified is A1:B5, so 4 values (excluding the first row - which includes the headers) will be selected for the named ranges:

Comments
0 comments
Please sign in to leave a comment.